GTA 6 Missions List
GTA 6's story opens with a Prologue as Lucia, then hands Chapter 1 to Jason. We played the first 11 missions, Prologue to Coming Home, in an early copy, and list them below in the order we played them. Community lists name 145 missions in all, and Rockstar has announced no count. Missions 3 to 7 open side by side, so the order is a guide, not a rule.
- 11
- Missions played
- Not announced
- Mission count
- 4
- Jobs shown in footage
- At some points
- Story waits for cash
- Jason and Lucia
- You play
- Nov 18, 2026
- Updated
GTA 6 Story Missions in Order
 01
Prologue
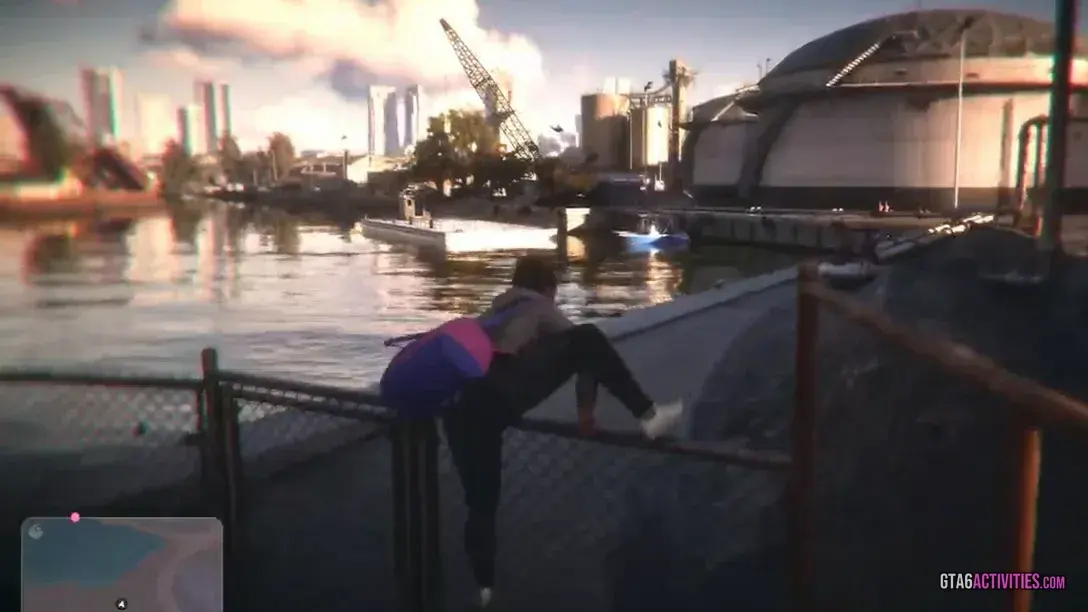
As Lucia, sit through a counselor interview at Hamlet Correctional, play a Payday Loan robbery flashback and get arrested.Walkthrough
The Prologue is the first GTA 6 mission, and you play it as Lucia. It runs from her cell at Hamlet Correctional to a counselor interview, a robbery flashback and an arrest outside a coffee shop. It pays nothing.
Steps
- Talk to a cellmate (hold L2), then go with the guard
- Sit down with counselor Stefanie Gates about a supervised release trial
- Play the flashback: a Payday Loan robbery
- Lose the cops in a scripted chase
- Return to the coffee shop, where officers tackle and cuff Lucia
The interview and the flashback
A guard walks Lucia to her new counselor, Stefanie Gates, who raises a supervised release trial. The interview turns into a playable flashback of a Payday Loan robbery.
You shake the police in a scripted chase, climbing a fence and cutting along the waterfront with a duffel bag.
The arrest and what comes next
The objective then sends Lucia back to the coffee shop, where officers tackle and cuff her. No money changes hands. The Prologue gets its own entry under Story Recap in the Progress menu, and the Chapter I title rolls right after.
Unlocks
- A Prologue entry under Story Recap in the Progress menu
- The Chapter I title, with Jason as the lead
Reward None shown
© Rockstar Games · early-copy screenshot, November 18, 2026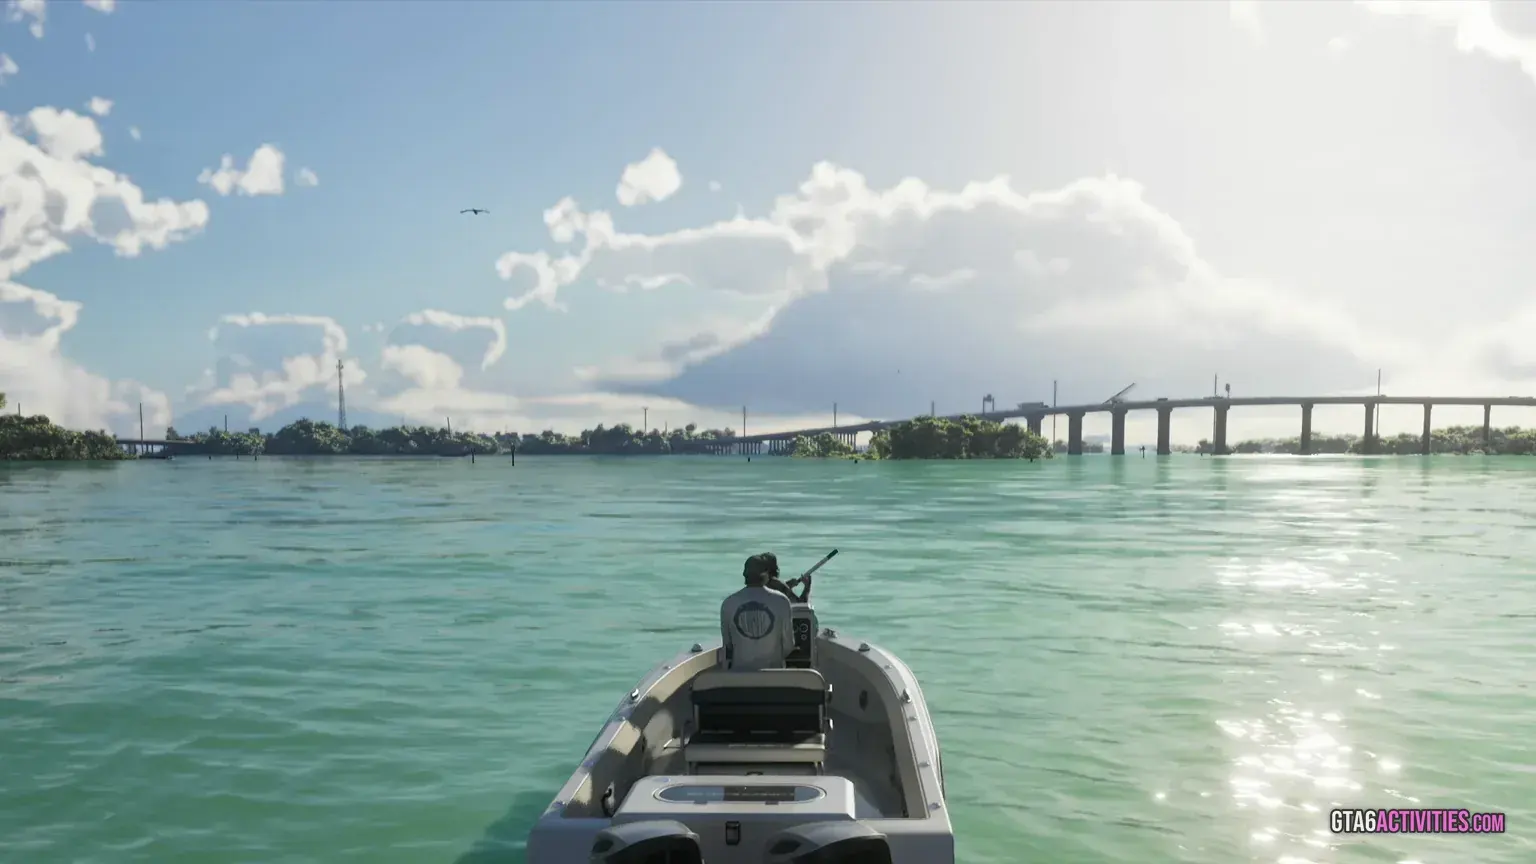 02
Gone Fishing
Follow a plane by boat with Cal, rescue Donnie from a camp and fly the seaplane back to Brian's marina.Walkthrough
Gone Fishing is Jason's first job in Chapter 1: a boat run with Cal that ends with Donnie rescued and Jason home. The map shows it as helping Donnie skim bricks off a shipment, and the title Gone Fishing comes from a community list.
Steps
- Follow the plane in the boat
- Collect the package it drops (Focus, L3 and R3 together, helps you spot it)
- Scope out the deal through binoculars
- Search the camp for Donnie
- Find a way into the shack, untie Donnie and take the Zombix
- Optional: recover the cash from the trailer
- Escape the camp in the seaplane and fly to Brian's marina
- Drive Cal home, then drive to your own house
Follow the plane, then free Donnie
Jason starts on a boat in the Keys with Cal. Follow a small plane, pick up the package it drops in the water, then watch a dockside deal through binoculars from the Items tab of the weapon wheel.
It goes wrong for Donnie. Get into the camp, find him in the shack and untie him. The trailer holds optional cash.
The seaplane and the house
A seaplane is the way out. Fly it to Brian's marina, drop Cal at his place, then drive to your house. That stilt house in Key Lento is Jason's base from here on.
Unlocks
- Jason's stilt house in Key Lento as a safehouse
- Texts from Donnie after the job
Reward Optional cash in the trailer, amount not seen
Not confirmed yet
- One fan list names Cal as the giver and adds a Professional reputation bonus.
 03
Gear Up
Buy a longarm at Chuck's Tackle & Shot for Brian, then survive a gang ambush in the parking lot.Walkthrough
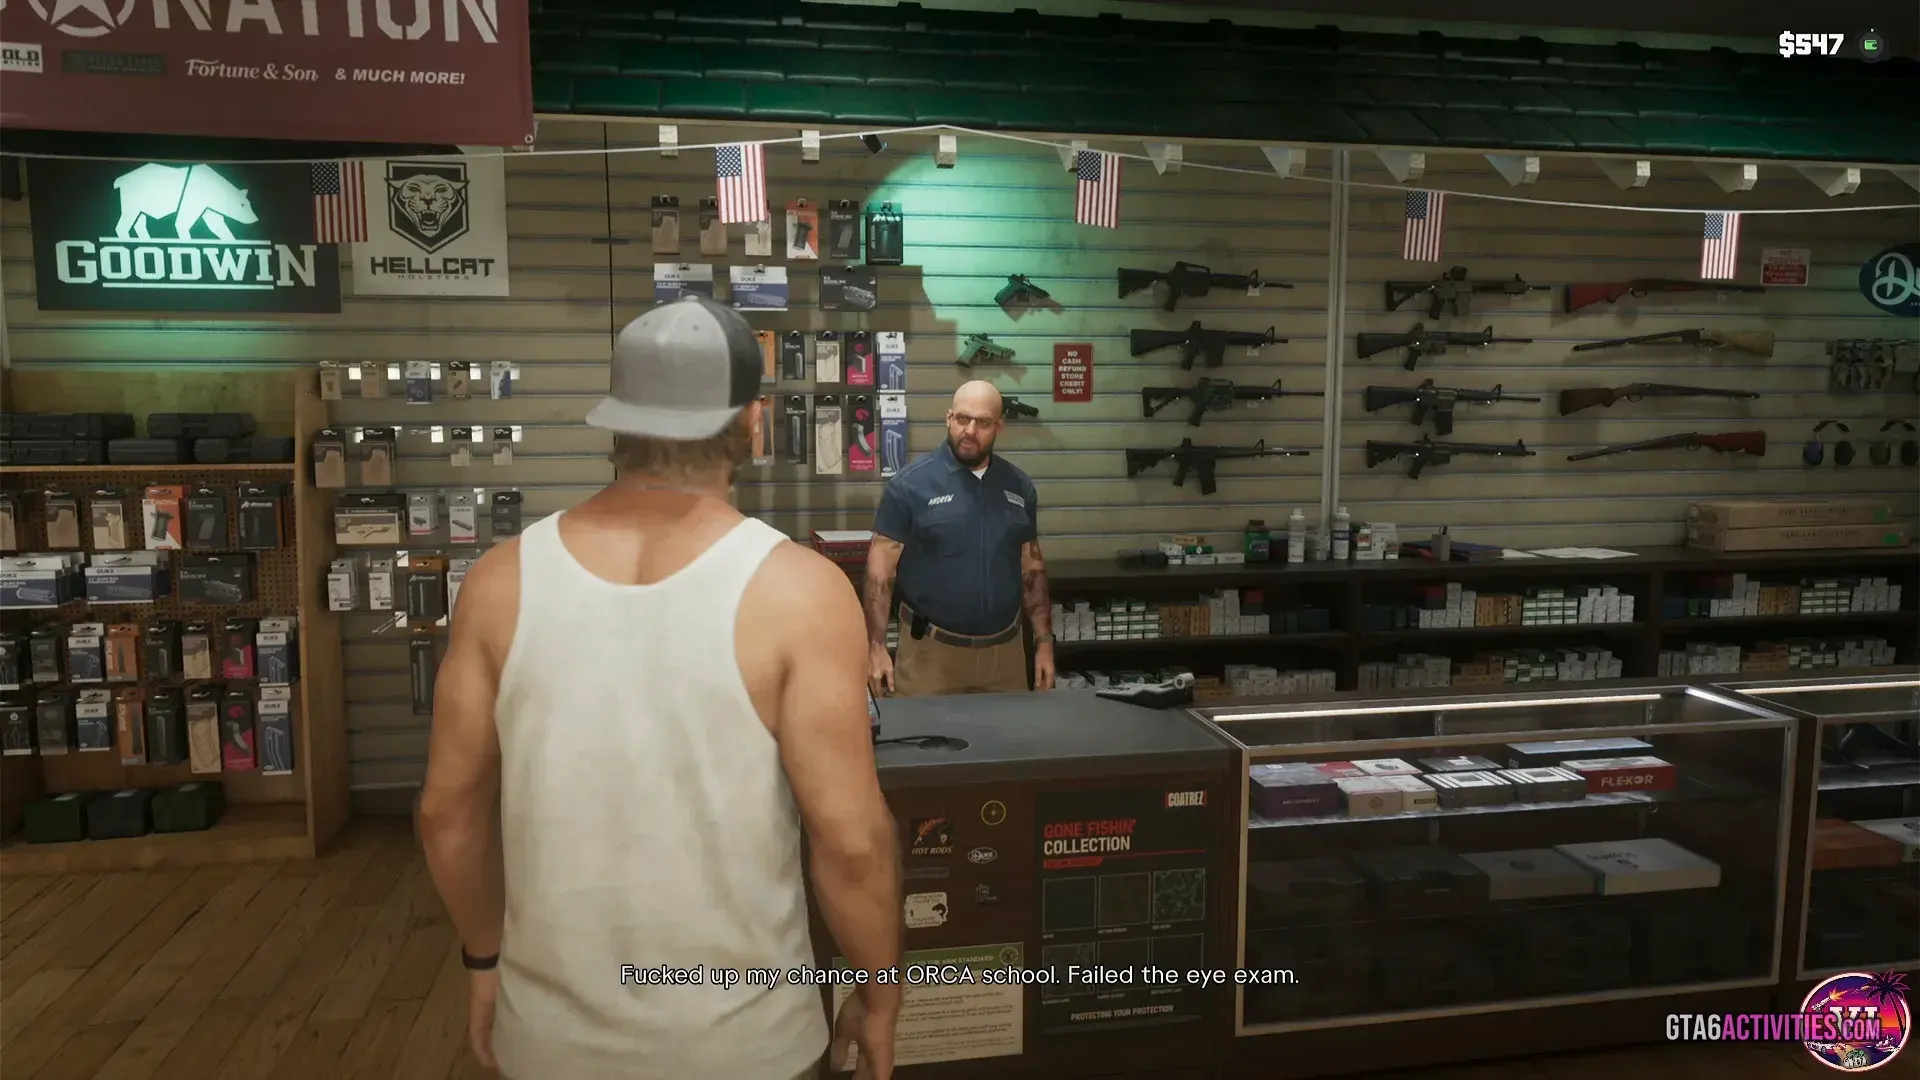
Gear Up is Brian's first shopping job for Jason: buy a longarm at Chuck's Tackle & Shot in Key Lento. The map calls the task Pick Up Another Gun, and the title Gear Up comes from a community list.
Steps
- Optional: empty the mailbox by the house ($20 from Dennis, $120 from Brian)
- Drive to Chuck's Tackle & Shot, which holds the Ammu-Nation counter
- Talk to the clerk, Andrew, and open the inventory
- Buy a longarm
- Leave when ready
- Survive the gang ambush in the parking lot
What to buy
The card says working for Brian needs gear from Ammu-Nation. Talk to the clerk, Andrew, and browse the rack. The cheapest longarm we saw was the Fortune & Son Moreland 850 pump shotgun, cut from $700 to $350, which left Jason with $197.
Empty the mailbox by the house first if you want the cash: ours held $20 from Dennis and $120 from Brian.
The ambush outside
Keep the gun loaded. A gang jumps you in the parking lot on the way out, and the job ends once you survive it.
Unlocks
- The Ammu-Nation shop, with weapon mods
- The Fortune & Son Moreland 850 pump shotgun
Reward None seen. The shotgun costs $350, marked down from $700
© Rockstar Games · early-copy screenshot, November 18, 2026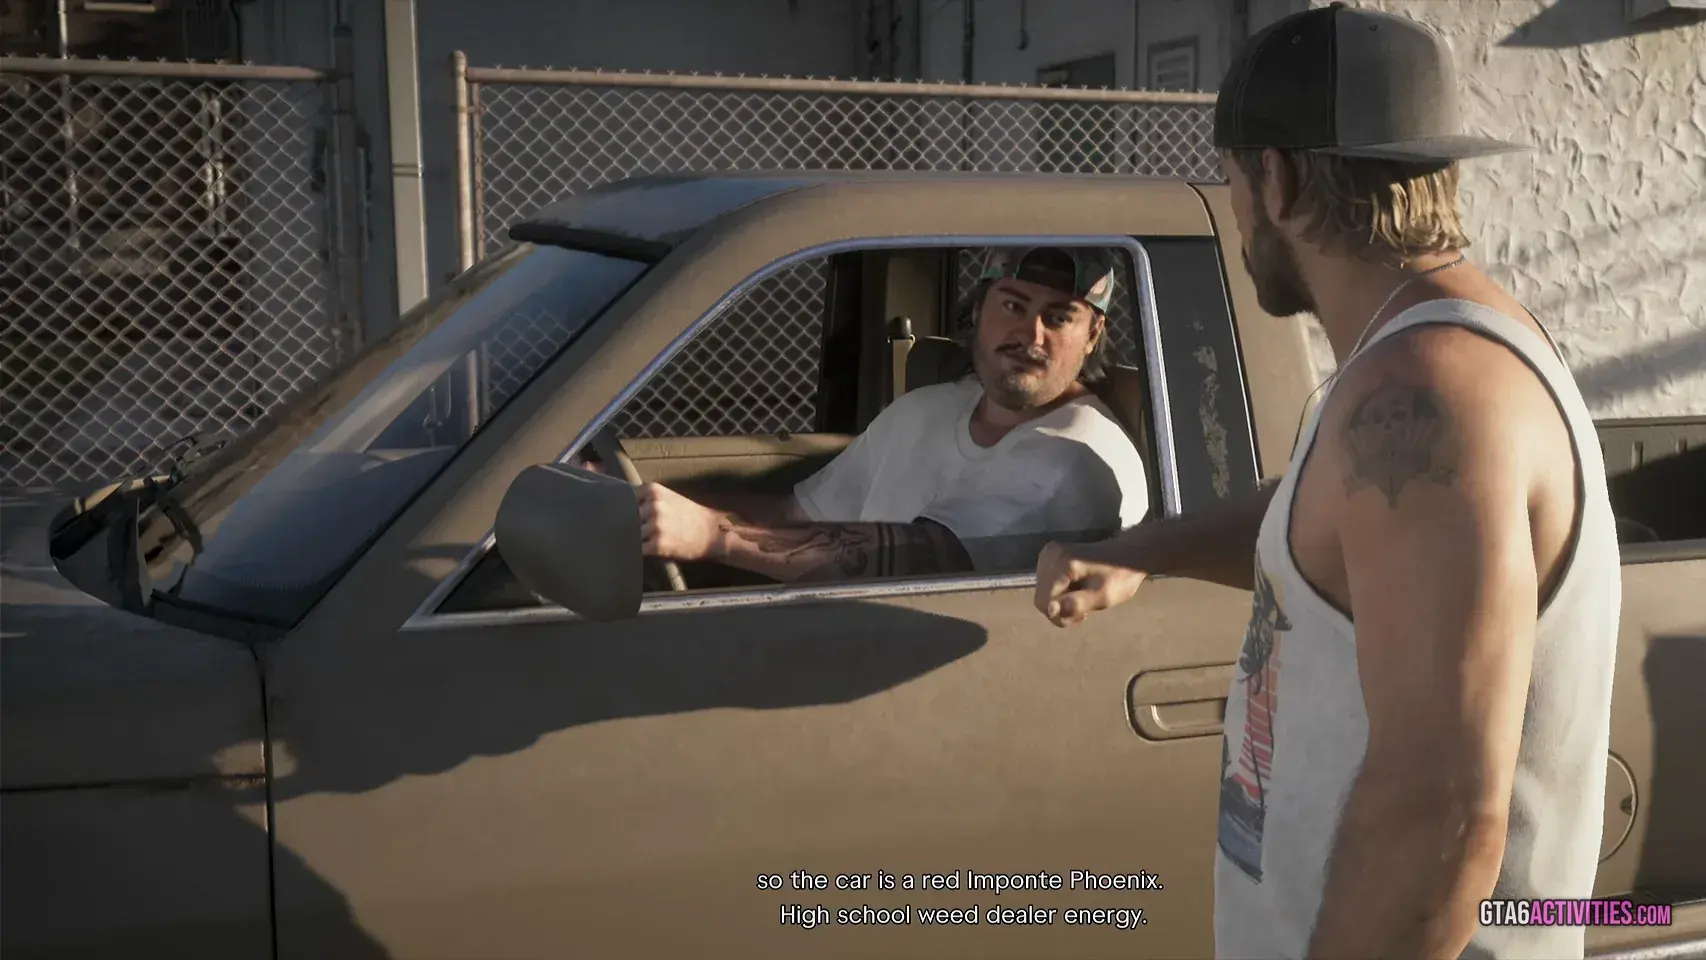 04
Unwanted Attention
Steal a red Imponte Phoenix from the Hamlet impound for Brian, with Cal's help.Walkthrough
Unwanted Attention sends Jason and Cal to the Hamlet impound to steal a red Imponte Phoenix for Brian. It unlocks the cop scanner, Pay 'n' Spray resprays and Big Shots outfits that remove outfit heat. The map shows it as Go See Cal.
Steps
- Find Cal on the causeway
- Drive Cal's Bravado '95 Bison 900 to Hamlet and the impound on Penny Bun Street
- Search the impound for the red Imponte Phoenix, staying out of sight
- Steal the Phoenix and lose the cops
- Take it to a Pay 'n' Spray, then deliver it to Brian's garage
- Buy an outfit at the Big Shots gun store to shed outfit heat
Getting the Phoenix out
Cal is fishing off the causeway north of Key Lento. Brian wants a car back from the police, so you drive Cal's pickup to the impound on Penny Bun Street. Break the gate open and keep out of sight.
The phone camera reads each parked car's access, security and tracker, so you can find the Phoenix without trying doors. Drive it out, lose the cops, get it resprayed at a Pay 'n' Spray and leave it at Brian's garage.
The escape tools it adds
At the impound gate a cop scanner switches on: from then on you hear police radio and get told where dispatch is sending units.
The last step takes you to Big Shots, where clothes tagged Will remove outfit heat change Jason's look. Tactical gear cost $96 and a workwear set $59. Afterwards Cal texts that there is money in your mailbox.
Unlocks
- A cop scanner that plays police radio and marks dispatch areas
- Pay 'n' Spray resprays to shake the police
- Big Shots outfits that remove outfit heat
Reward A text from Cal saying there is money in your mailbox
Not confirmed yet
- One fan list says $150 is left in the back room of Brian's garage.
 05
Pipework
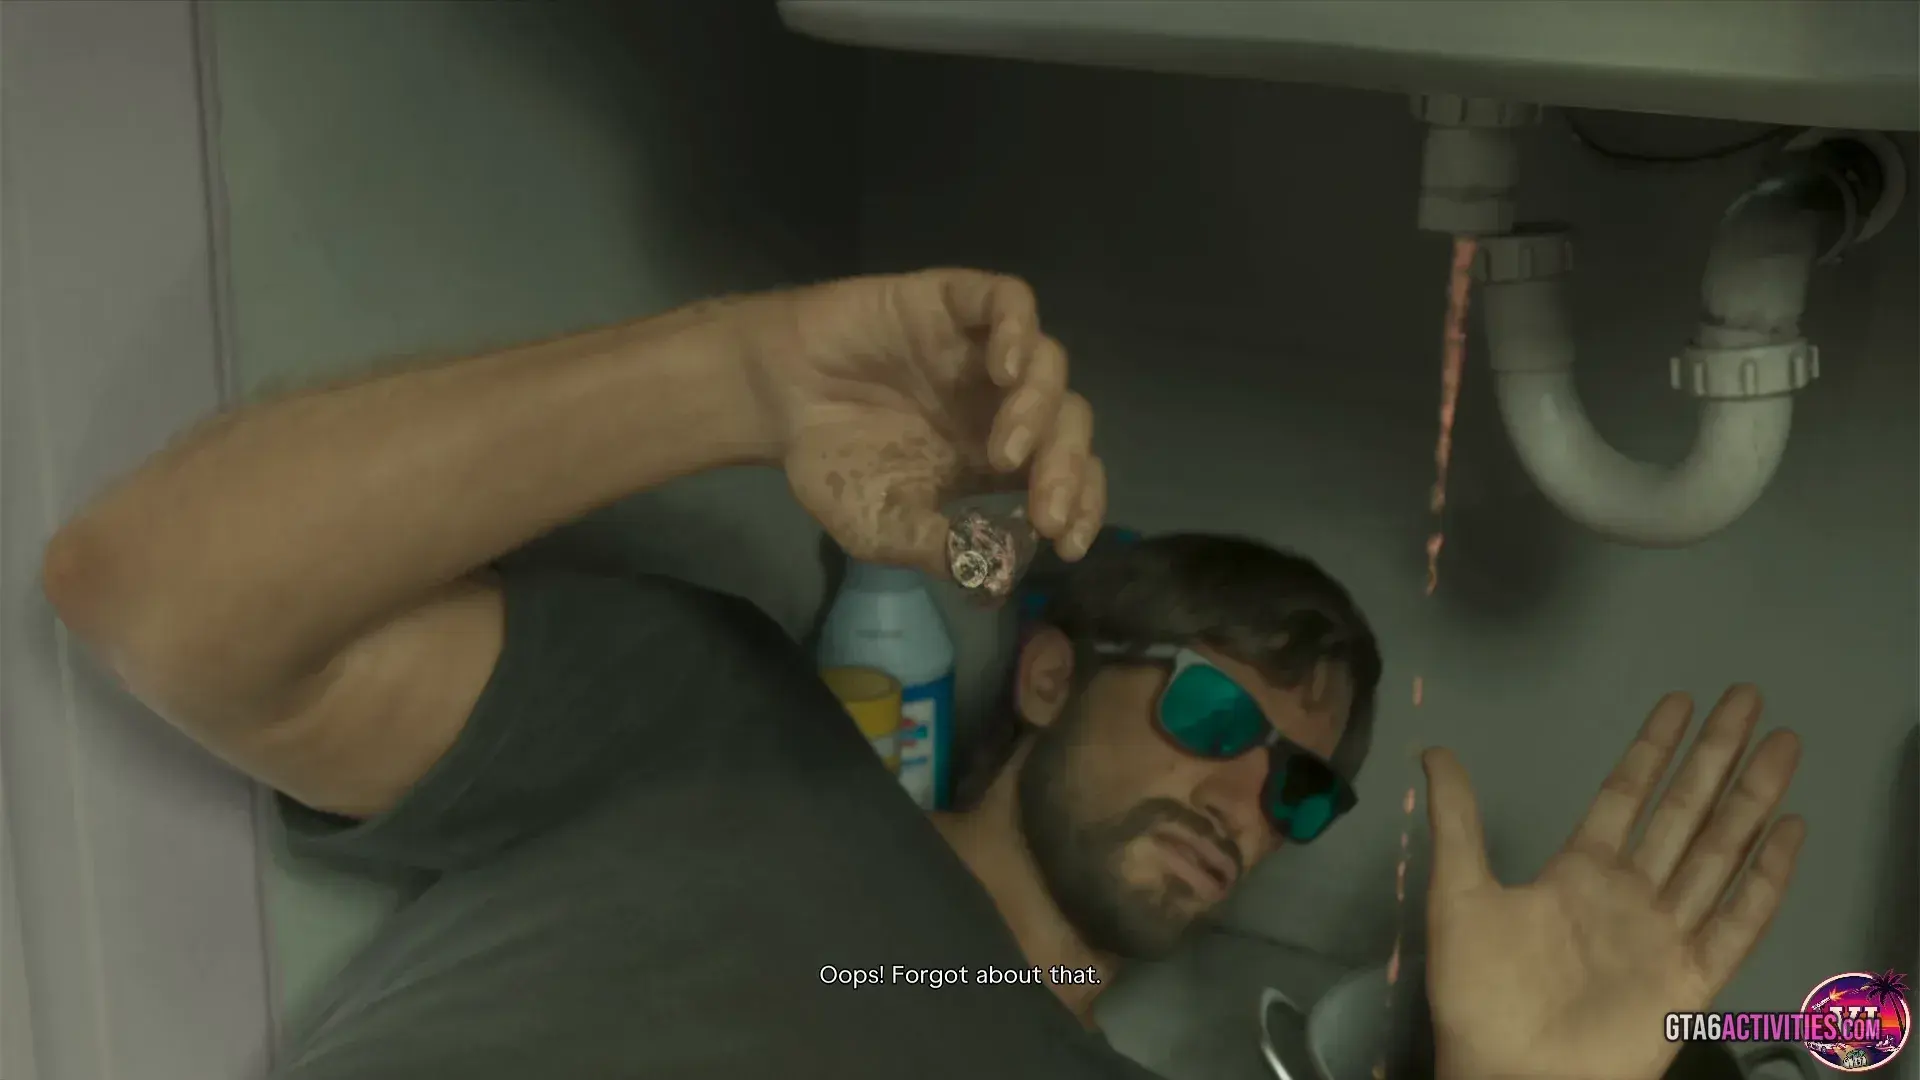
Collect Mandy's rent by fixing her blocked kitchen sink.Walkthrough
Pipework is Brian's rent job at Mandy's house in Key Lento, and Mandy pays by letting Jason fix her blocked sink. The map shows it as Collect Mandy's Rent, and the title Pipework comes from a community list.
Steps
- Head over to Mandy's to collect
- Follow Mandy inside
- Pick up the plunger in the bathroom
- Work the sink with the plunger, then with a wrench
- Talk it over with Mandy (interrupt, defuse or provoke)
Fixing the sink
Mandy is short on rent too, but her kitchen sink is blocked. Follow her in, pick up the plunger in the bathroom and work the sink with R3. It won't clear, so Jason gets under it with a wrench and pulls the clog out of the pipe.
The payment
She pays with a box of her dad's things, and Brian texts that Mandy's rent just came through. On the drive over, a tip introduces Paradise Taxi, which you call from Contacts; our ride cost about $10.
Unlocks
- A tip introducing Paradise Taxi, which you call from Contacts
Reward A box of Mandy's dad's things, and a text from Brian that her rent came through
Not confirmed yet
- Another player's footage shows a Macizo Cigar in the box.
 06
Lab Fees
Lean on a tenant for Brian, empty his back-room lab and stash the acid in Brian's lockup.Walkthrough
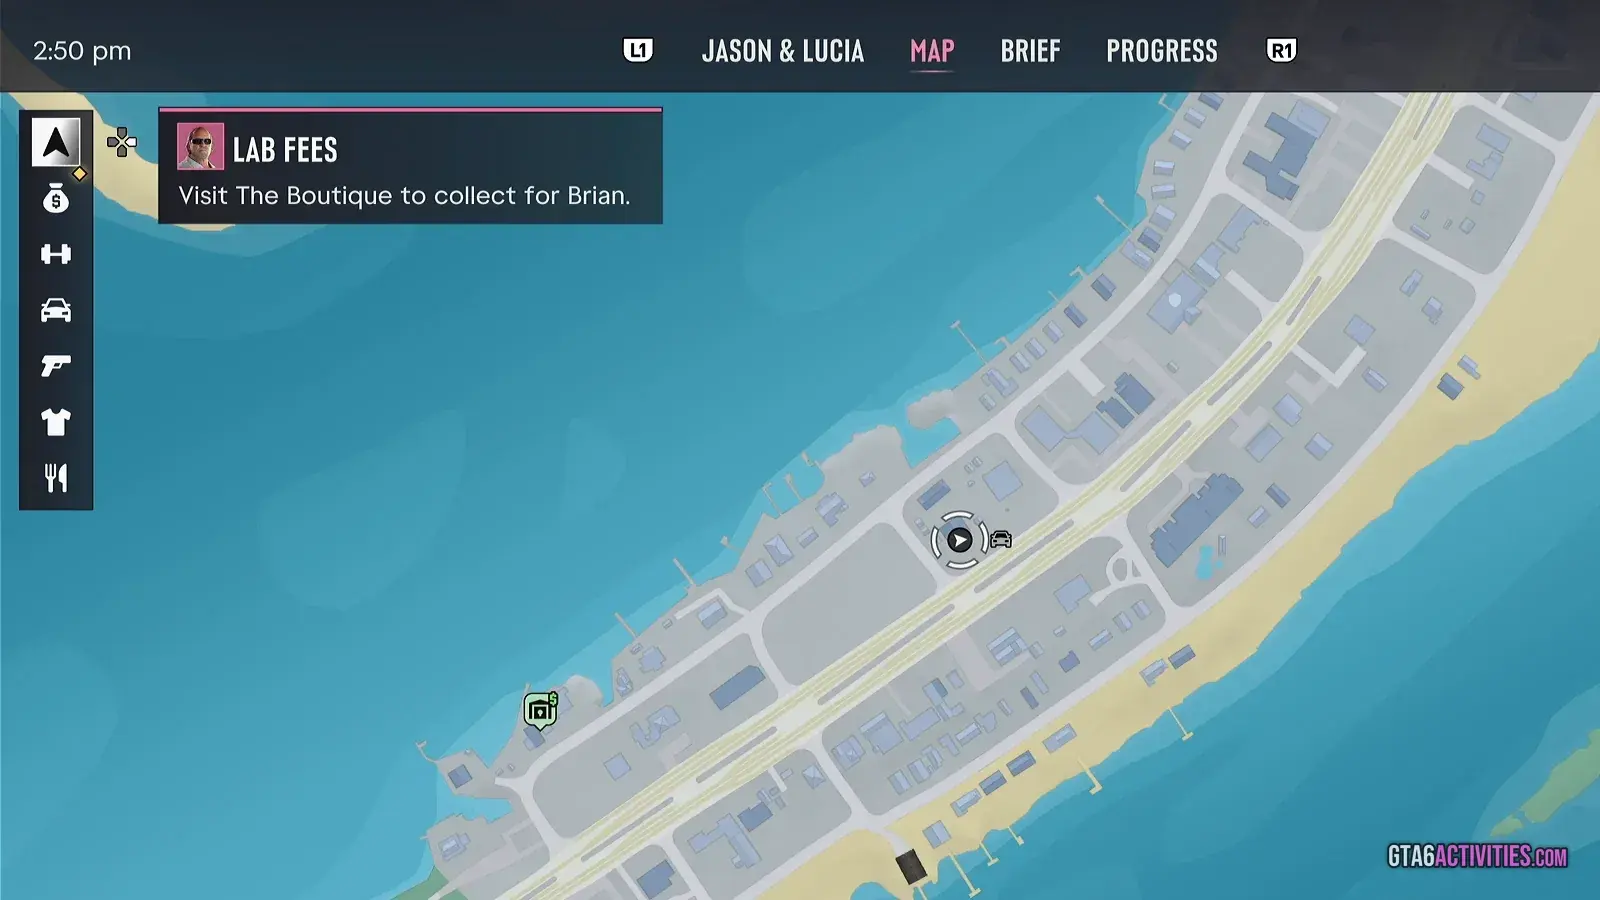
Lab Fees is Brian's rent collection at The Boutique in Key Lento. The tenant gives up the lab code 0420, you take the acid and the loot, then stash it at Brian's lockup with code 7700. The map shows it as Collect Brian's Rent.
Steps
- Lean on the tenant at The Boutique
- Go round to the shop's back door
- Enter the lab with the keypad code 0420
- Collect the acid and sweep the lab for loot
- Call Brian
- Stash the acid in Brian's lockup beside the Isla Tropical private club (code 7700)
The tenant and the lab
The tenant at The Boutique, in the Artist Village, will not pay. Go round to the shop's back door and lean on him; he gives up the keypad code to his back-room lab, 0420.
Grab the acid, then sweep the lab. Small items in dark corners add to your loot bag, and ours reached $600.
The lockup
Call Brian. He wants it all in the strong box at his lockup next to the Isla Tropical private club, door code 7700. During the job our pause menu read Chapter 1, Lab Fees, while the map card still said Collect Brian's Rent.
Unlocks
- Brian's lockup, as a contact and a stash
Reward A loot bag worth $600 in our run
Not confirmed yet
- One fan list says $600 also lands in Jason's mailbox later.
 07
Just a Scratch
Take Jason's Ganado to Joey at Coastal Auto Care for a free repair and respray.Walkthrough
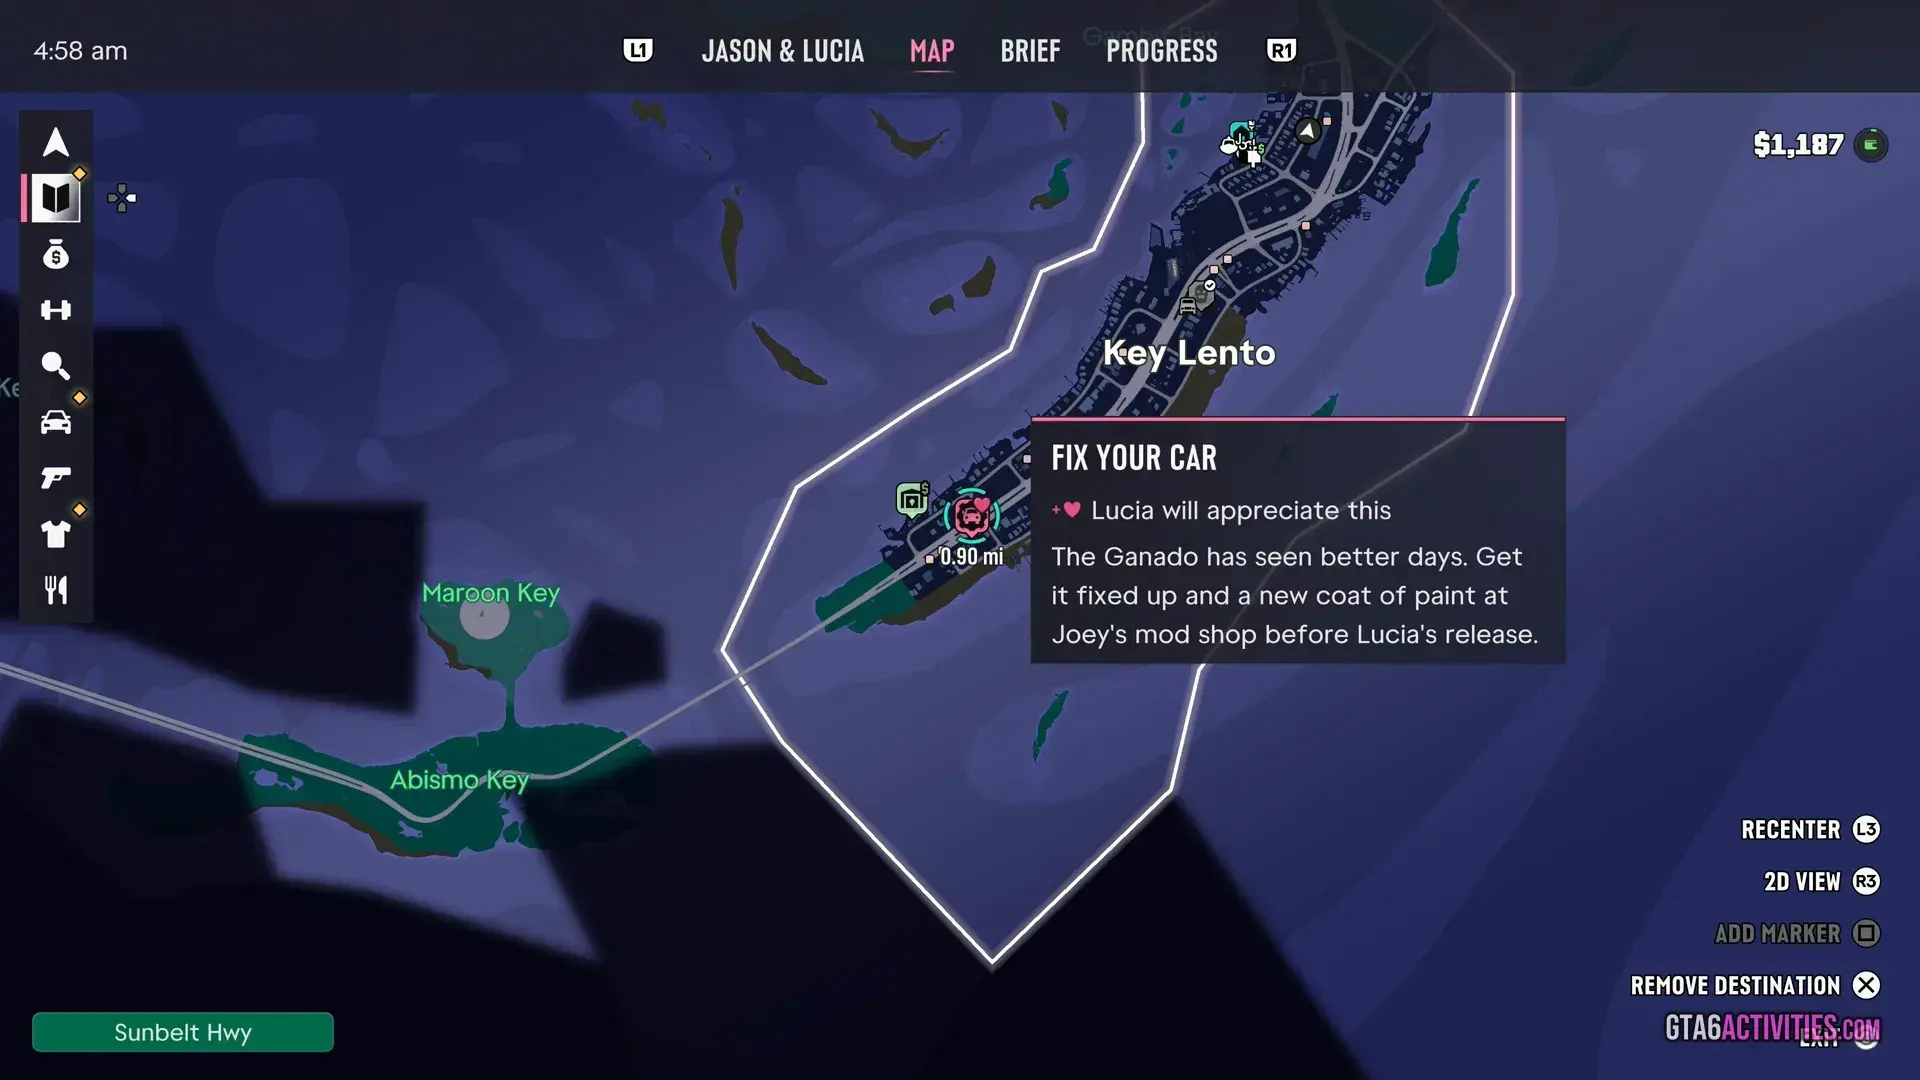
Just a Scratch has Jason take his Ganado to Joey at Coastal Auto Care in Key Lento. The engine repair is free, and so was our respray. The map shows it as Fix Your Car, and the title comes from a community list.
Steps
- Drive the Ganado to Coastal Auto Care
- Greet Joey and enter the mod shop
- Take the free engine repair
- Respray the car for free, marked down from $400
- Joey puts the bill on Brian's account
What the job asks
The task carries a heart on the map, since a running car is something Lucia will appreciate. Drive the battered Ganado to Joey, say hello and roll into the mod shop.
It was already waiting on the map when Jason went to collect Brian's rent. We took the Ganado to the shop afterwards.
Inside the mod shop
The engine repair costs nothing and so did our respray, marked down from $400. While you are in there, browse the other tabs: pro builds, cosmetics, performance, wheels, interior and bodywork. Joey stays in your Contacts for repairs and deliveries.
Unlocks
- The mod shop, with Pro Builds, Cosmetics, Performance, wheels, interior and bodywork tabs
- Joey as a contact for repairs and delivery
Reward A free repair and a free respray
© Rockstar Games · early-copy screenshot, November 18, 2026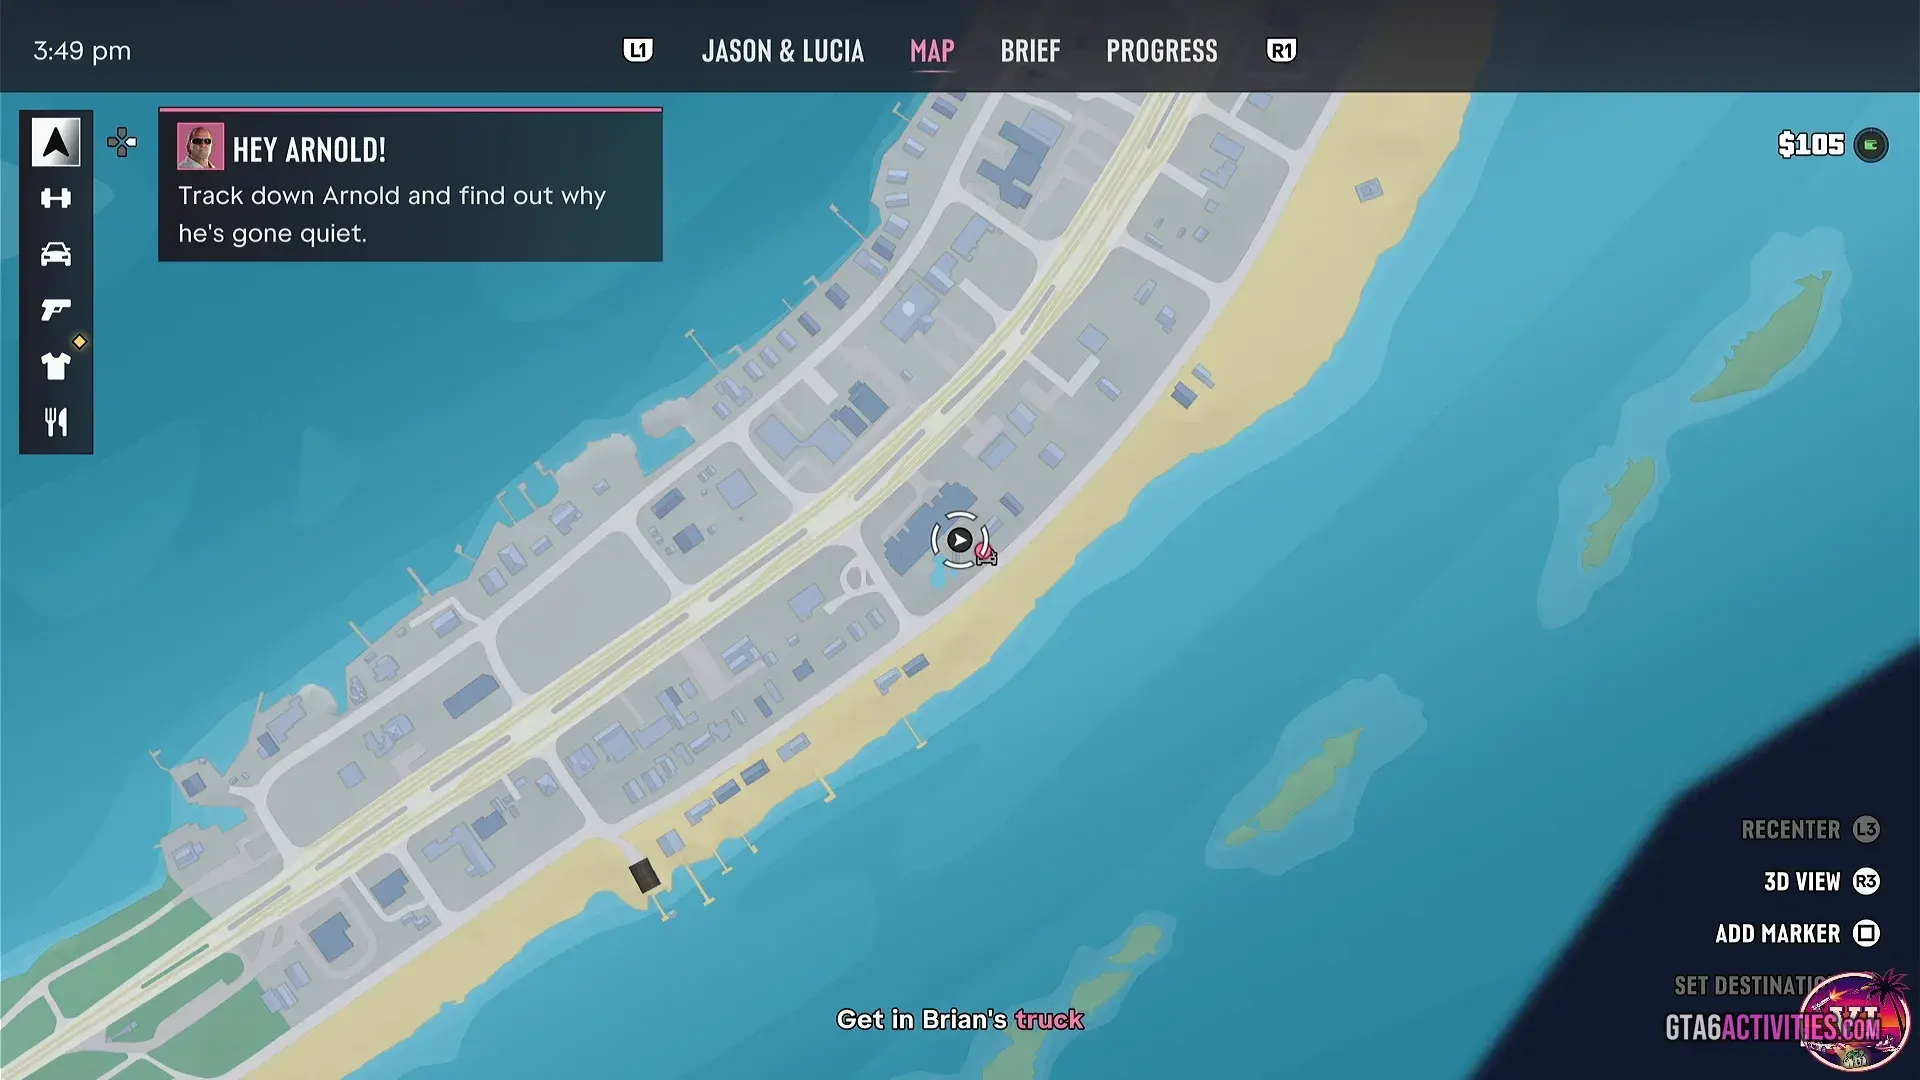 08
Hey Arnold!
Meet Brian at the hotel, drive out to the radar station and chase Arnold down.Walkthrough
Hey Arnold! starts at Brian's table at the Crastenburg Hotel pool bar and ends with a car and foot chase after Arnold. The map shows it as Meet Brian, and the in-game title is Hey Arnold!.
Steps
- Meet Brian at the hotel
- Follow Brian to his Vapid Caracara 4x4 and get in
- Stop at the liquor store and pick up Cal
- Drive to the radar station on Maroon Key
- Chase Arnold by car, then on foot (R3 locks the camera on him)
- Decide what happens to Arnold (we saw a Spare choice)
From the pool bar to the radar station
Brian waits at his usual table in Key Lento. Arnold has gone quiet, so follow Brian to his Vapid Caracara 4x4, stop at the liquor store, then drive out to the radar station.
The chase
Arnold bolts. The car chase runs over a beach and an old bridge with gaps you have to jump, then goes on foot through back lots, where R3 locks the camera on him. Once he is down you can loot his Girardi ES9 pistol.
Unlocks
- A Girardi ES9 pistol, which you can loot from Arnold
Reward Not seen
© Rockstar Games · early-copy screenshot, November 18, 2026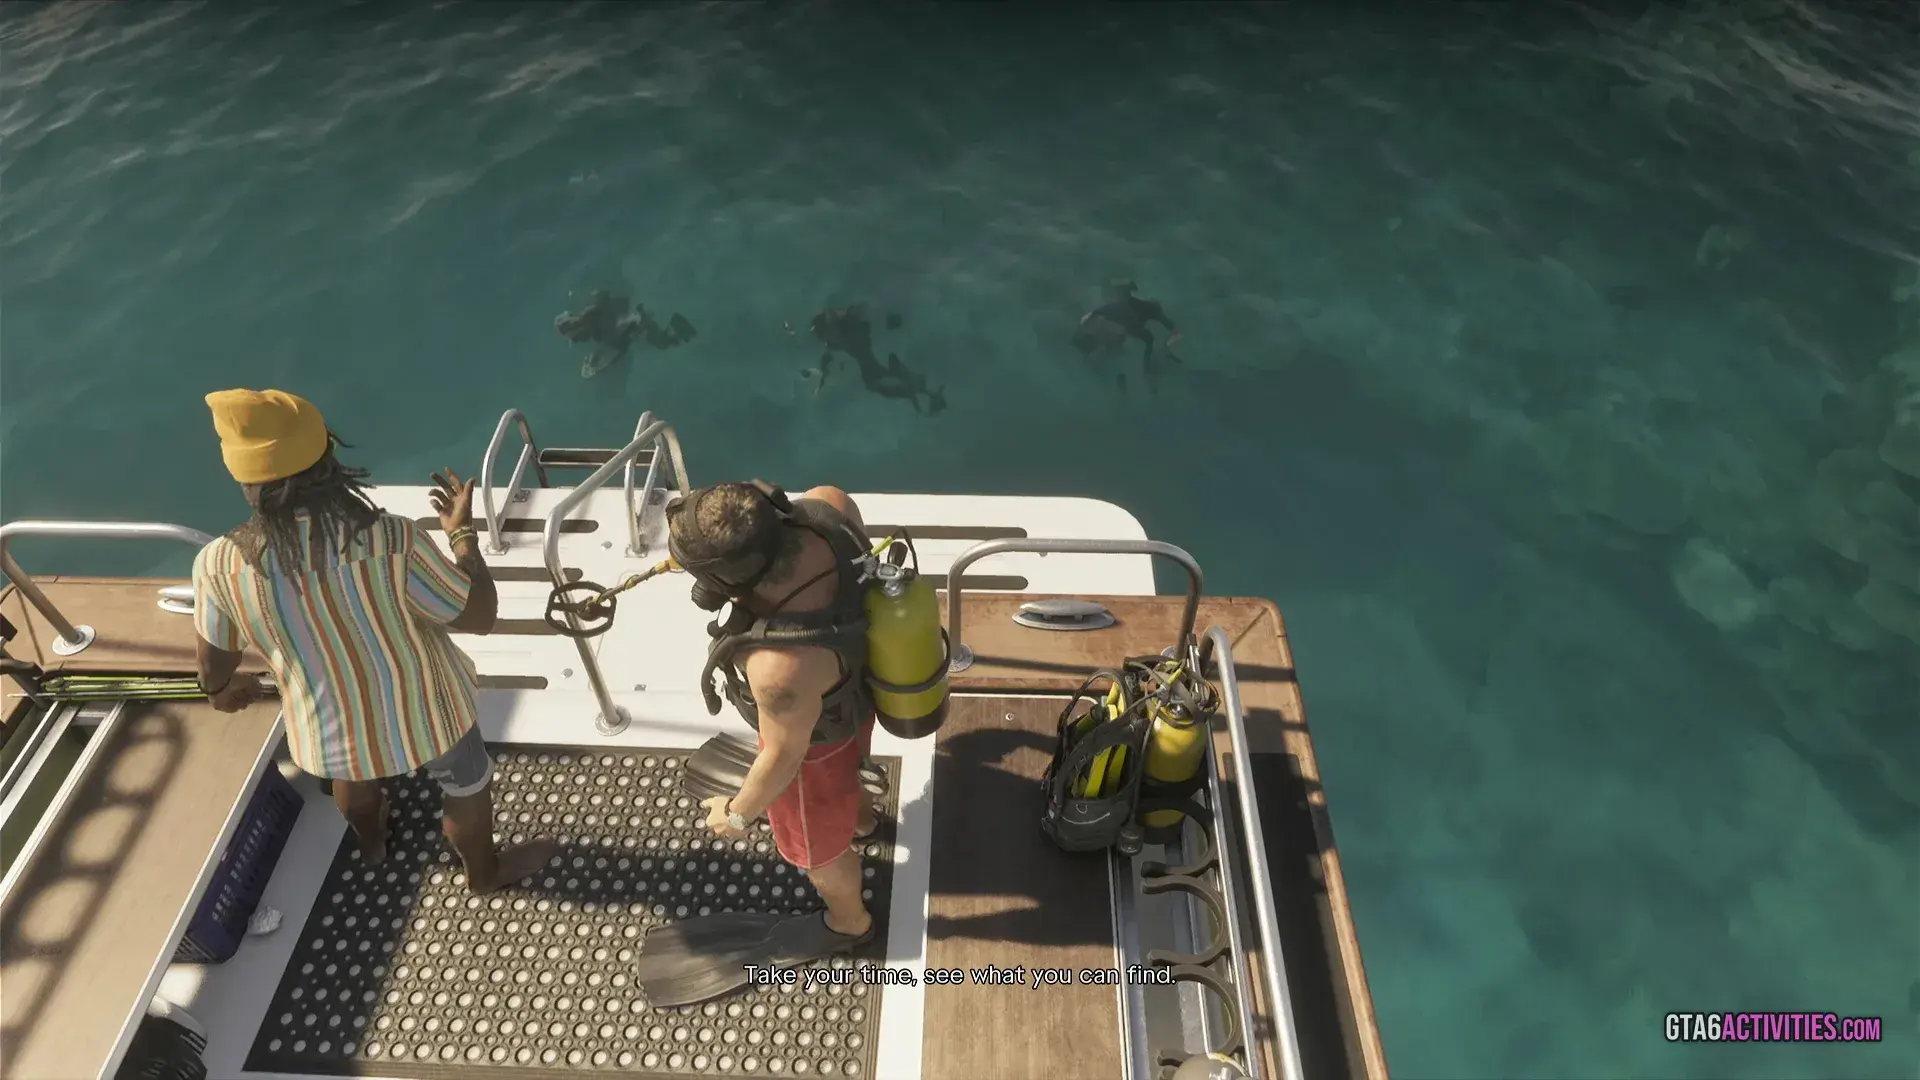 09
Island Dreams
Take Kenton's group diving to a wreck, dig for Gold Doubloons and rescue Dobbs.Walkthrough
Island Dreams is Kenton's first paid dive for Jason, and it teaches scuba diving and the metal detector. The map shows it as Work for Kenton, and the title Island Dreams comes from a community list.
Steps
- Meet Kenton and go to the diving spot
- Change into the scuba gear
- Lead his group through a trench
- Dig for treasure with the metal detector near a wreck
- Check on a diver called Dobbs and rescue him
- Lead everyone back to the boat and fend off a shark with the spear gun
The dive
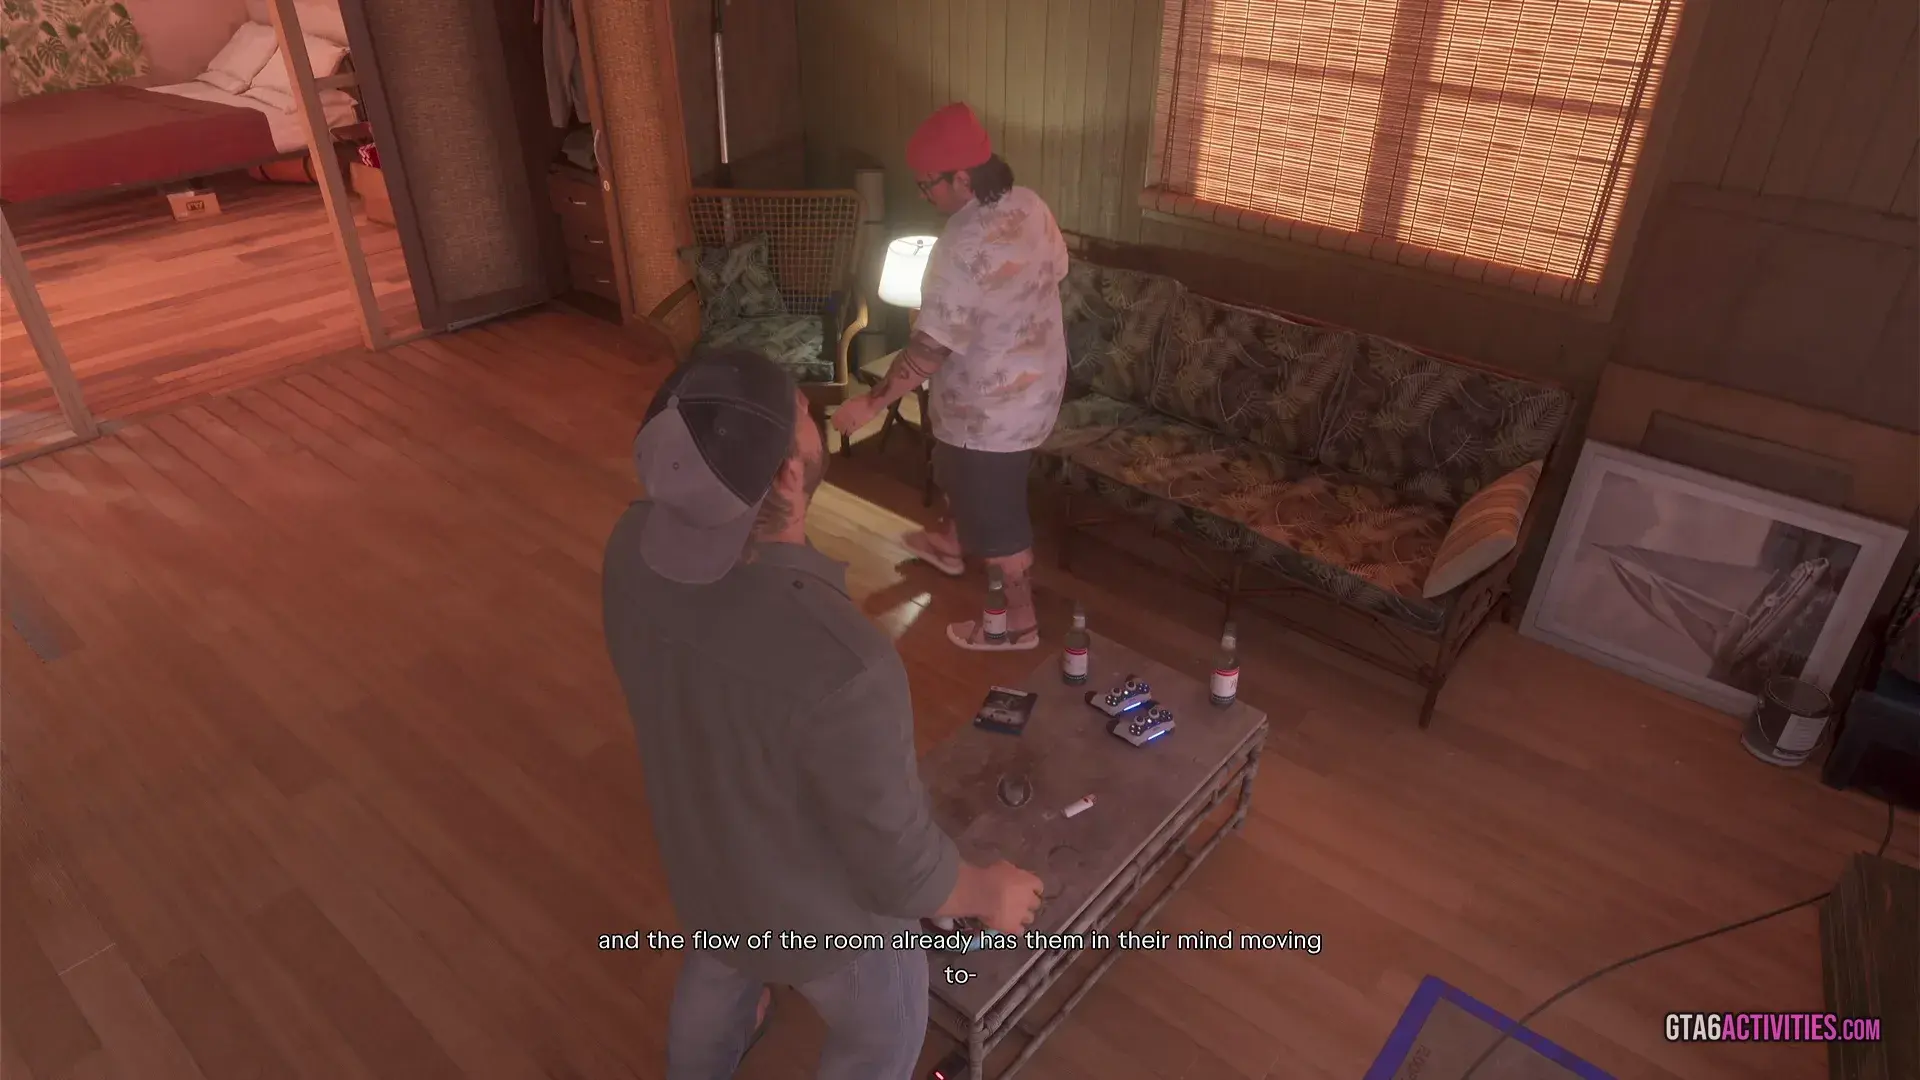
Kenton takes paying divers out from his Island Dreams shop on the Key Lento beach. Suit up on his boat, lead his group through a trench to a wreck, then dig for Gold Doubloons with the metal detector.
Then free a diver called Dobbs and get everyone back aboard, with a shark to deal with on the way.
What you keep
You keep the scuba gear and the detector. The Underwater Discoveries collection starts at 1 of 33. In our second session Kenton texted Jason about more wrecks out in the Grassrivers.
Unlocks
- Scuba diving and the metal detector
- The Underwater Discoveries collection (1 of 33 found)
- Gold Doubloons
- A text from Kenton about more wrecks in the Grassrivers
Reward None seen in our run
Not confirmed yet
- Another player's footage shows Jason paid $400 at the dock.
 10
Feng Shui
Move the furniture with Cal before Lucia comes home, then try the JoySystem.Walkthrough
Feng Shui is the tenth mission in our run: Jason and Cal move the living room furniture into place before Lucia comes home, then try the JoySystem console. We have not seen the title on screen, and it comes from a community list.
Steps
- Grab two beers from the fridge
- Sit on the couch with Cal
- Move the TV, coffee table, couch and chair into place with Cal (ADJUST for fine positioning)
- Play the JoySystem console
Moving the furniture with Cal
Before the release, Cal comes round to help get the place ready. Grab two beers from the fridge, sit on the couch, then carry the TV, coffee table, couch and chair into place together, with an ADJUST prompt for fine positioning.
The JoySystem
Cal finishes by booting up the JoySystem console, which stays at the house. We saw no payout, and the next job on the map was Lucia's release.
Unlocks
- The JoySystem console at home
Reward Not seen
© Rockstar Games · early-copy screenshot, November 18, 2026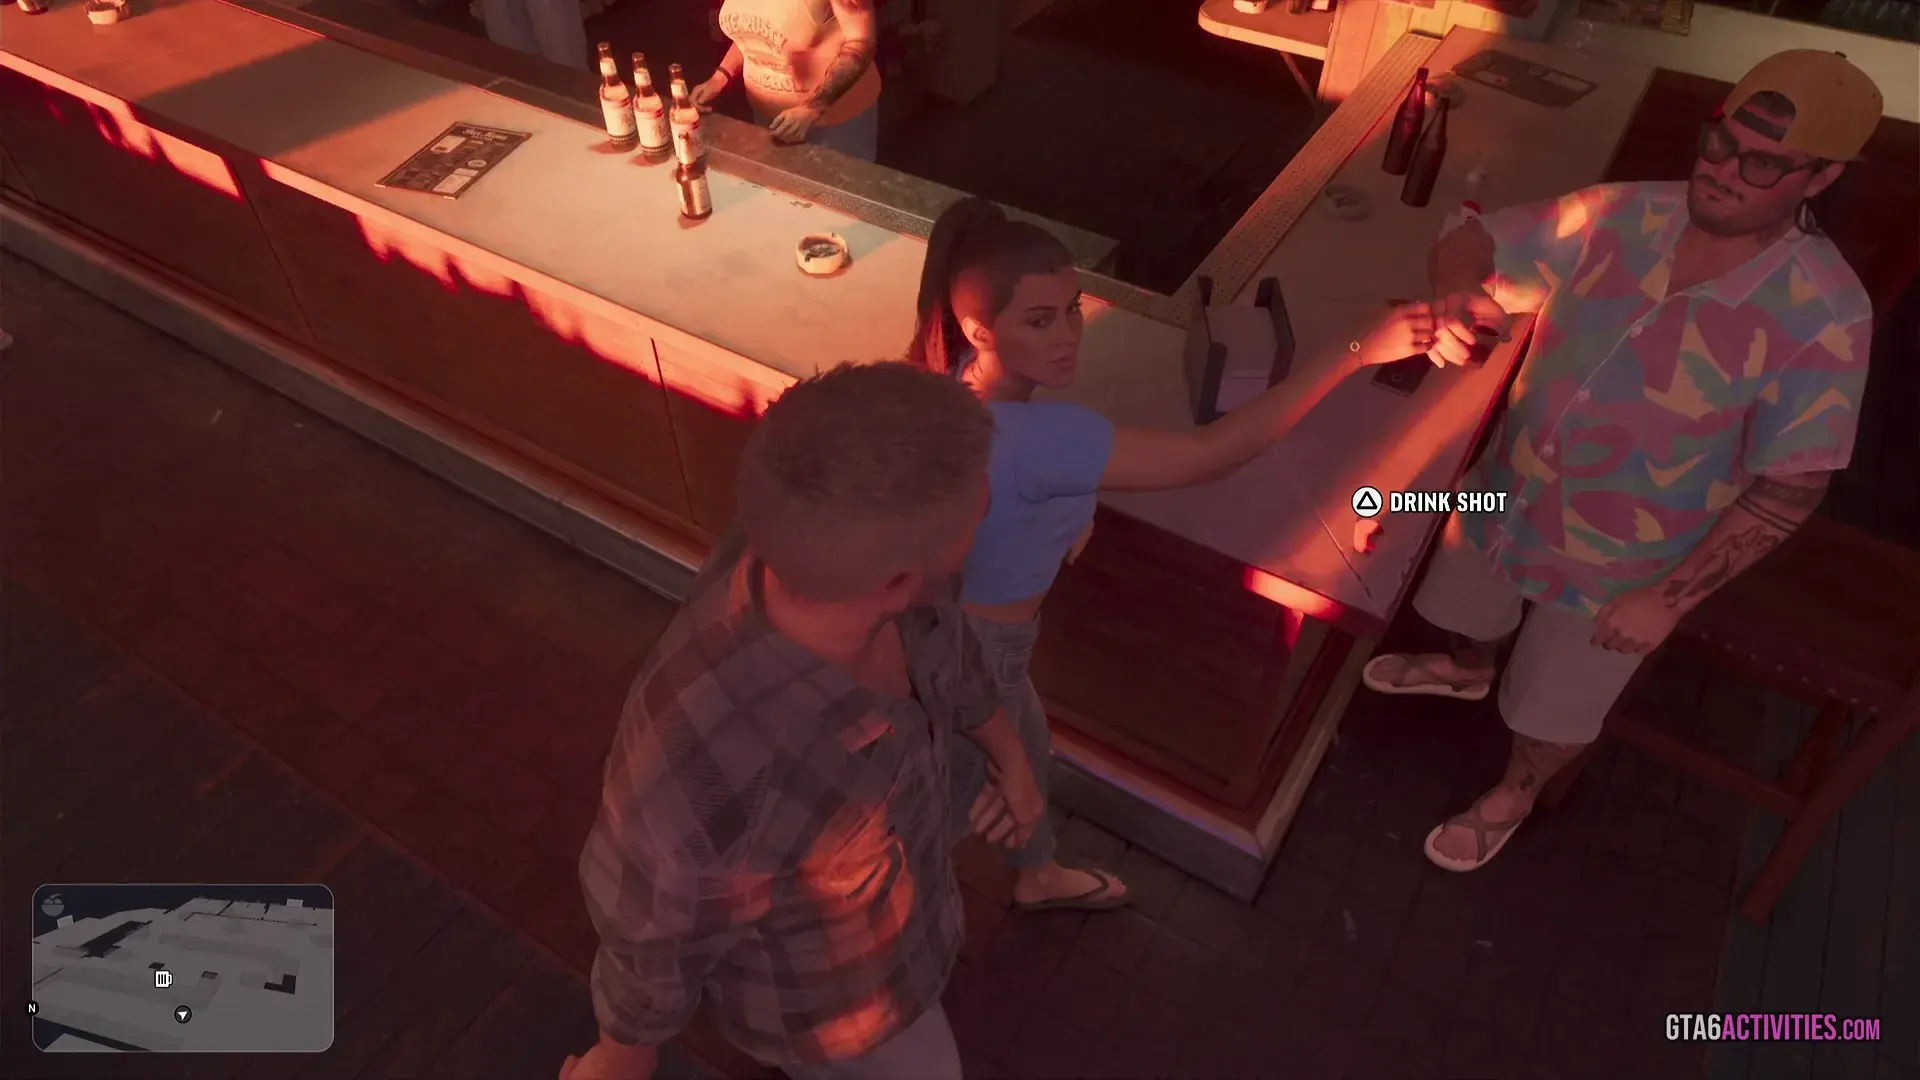 11
Coming Home
Run five errands, pick Lucia up from prison and spend the night at the Rusty Anchor.Walkthrough
Coming Home is the eleventh story mission we played: Jason prepares for Lucia's release with five errands, picks her up and spends the night at the Rusty Anchor. The map first shows it as Lucia's Release, then Pick Up Lucia.
Steps
- Prepare for Lucia's release with five optional errands
- Wait for Lucia's call
- Pick up Lucia: speak to the guard and get in your vehicle
- At the Rusty Anchor, order drinks, hang out with the crowd and dance with Lucia
- Find Mattia and play him at pool
- Fight D-Man outside, follow Lucia and escape the police
Five errands before her call
Lucia's Release comes with five optional errands to finish before she calls: Buy Flowers, Pick Up Groceries, Get The Chop at Barnacle Beauties, Buy Lucia a Necklace for $475 at The Siren's Chest, and Get Lucia's Clothes from her friend Andy at Manatee's Rest.
The night at the Rusty Anchor
When she calls, the task turns into Pick Up Lucia. Drive to Hamlet Correctional, speak to the guard, and the two of you end up at the Rusty Anchor: order drinks, hang out with the crowd, dance with Lucia, then find Mattia and play him at pool.
The night ends in a fight with D-Man outside, then you follow Lucia with the police closing in. Our session stopped during that escape, so we have not seen how Coming Home ends or what it pays.
Unlocks
- Five optional relationship errands (flowers, groceries, a haircut, a necklace, her clothes)
- A pool game against Mattia at the Rusty Anchor
Reward Not seen. Our session stopped during the escape
Not confirmed yet
- One review says Lucia moves in with Jason and becomes playable after this mission.
Which GTA 6 missions have been shown?
Rockstar's trailers and the Extended Look show jobs without naming them. We list them by what happens, and none is tied to a mission title yet.
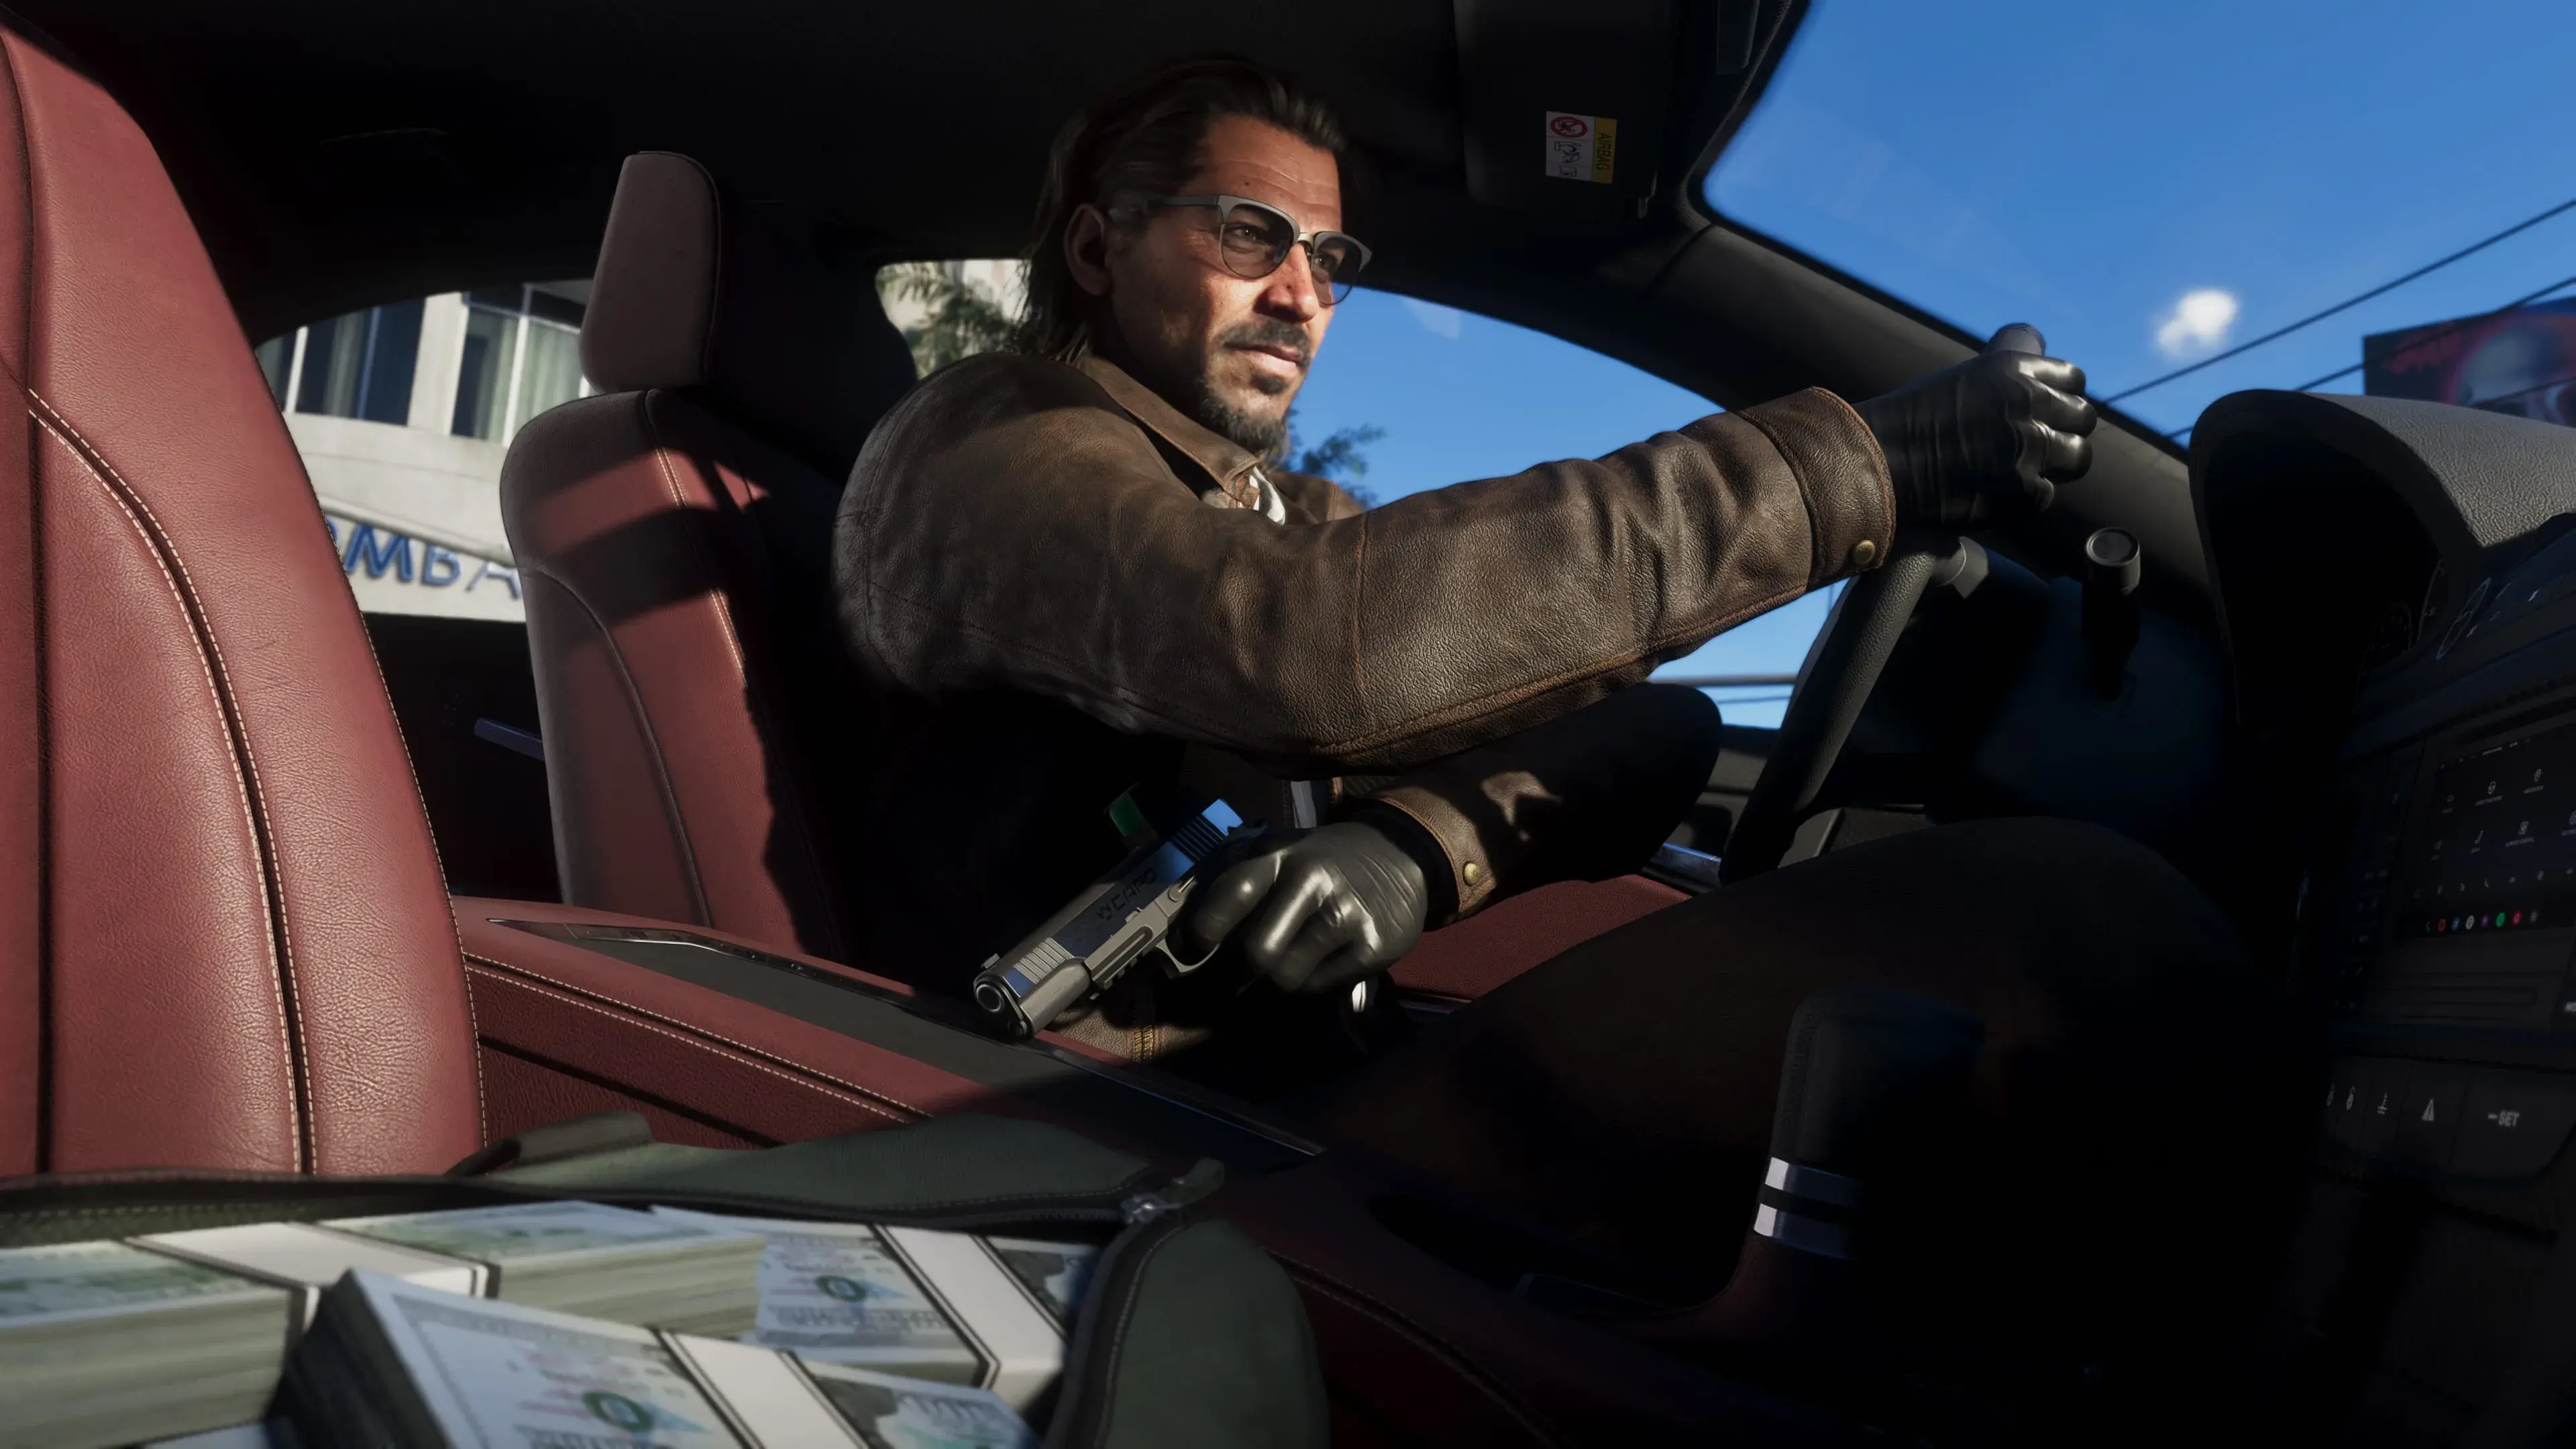
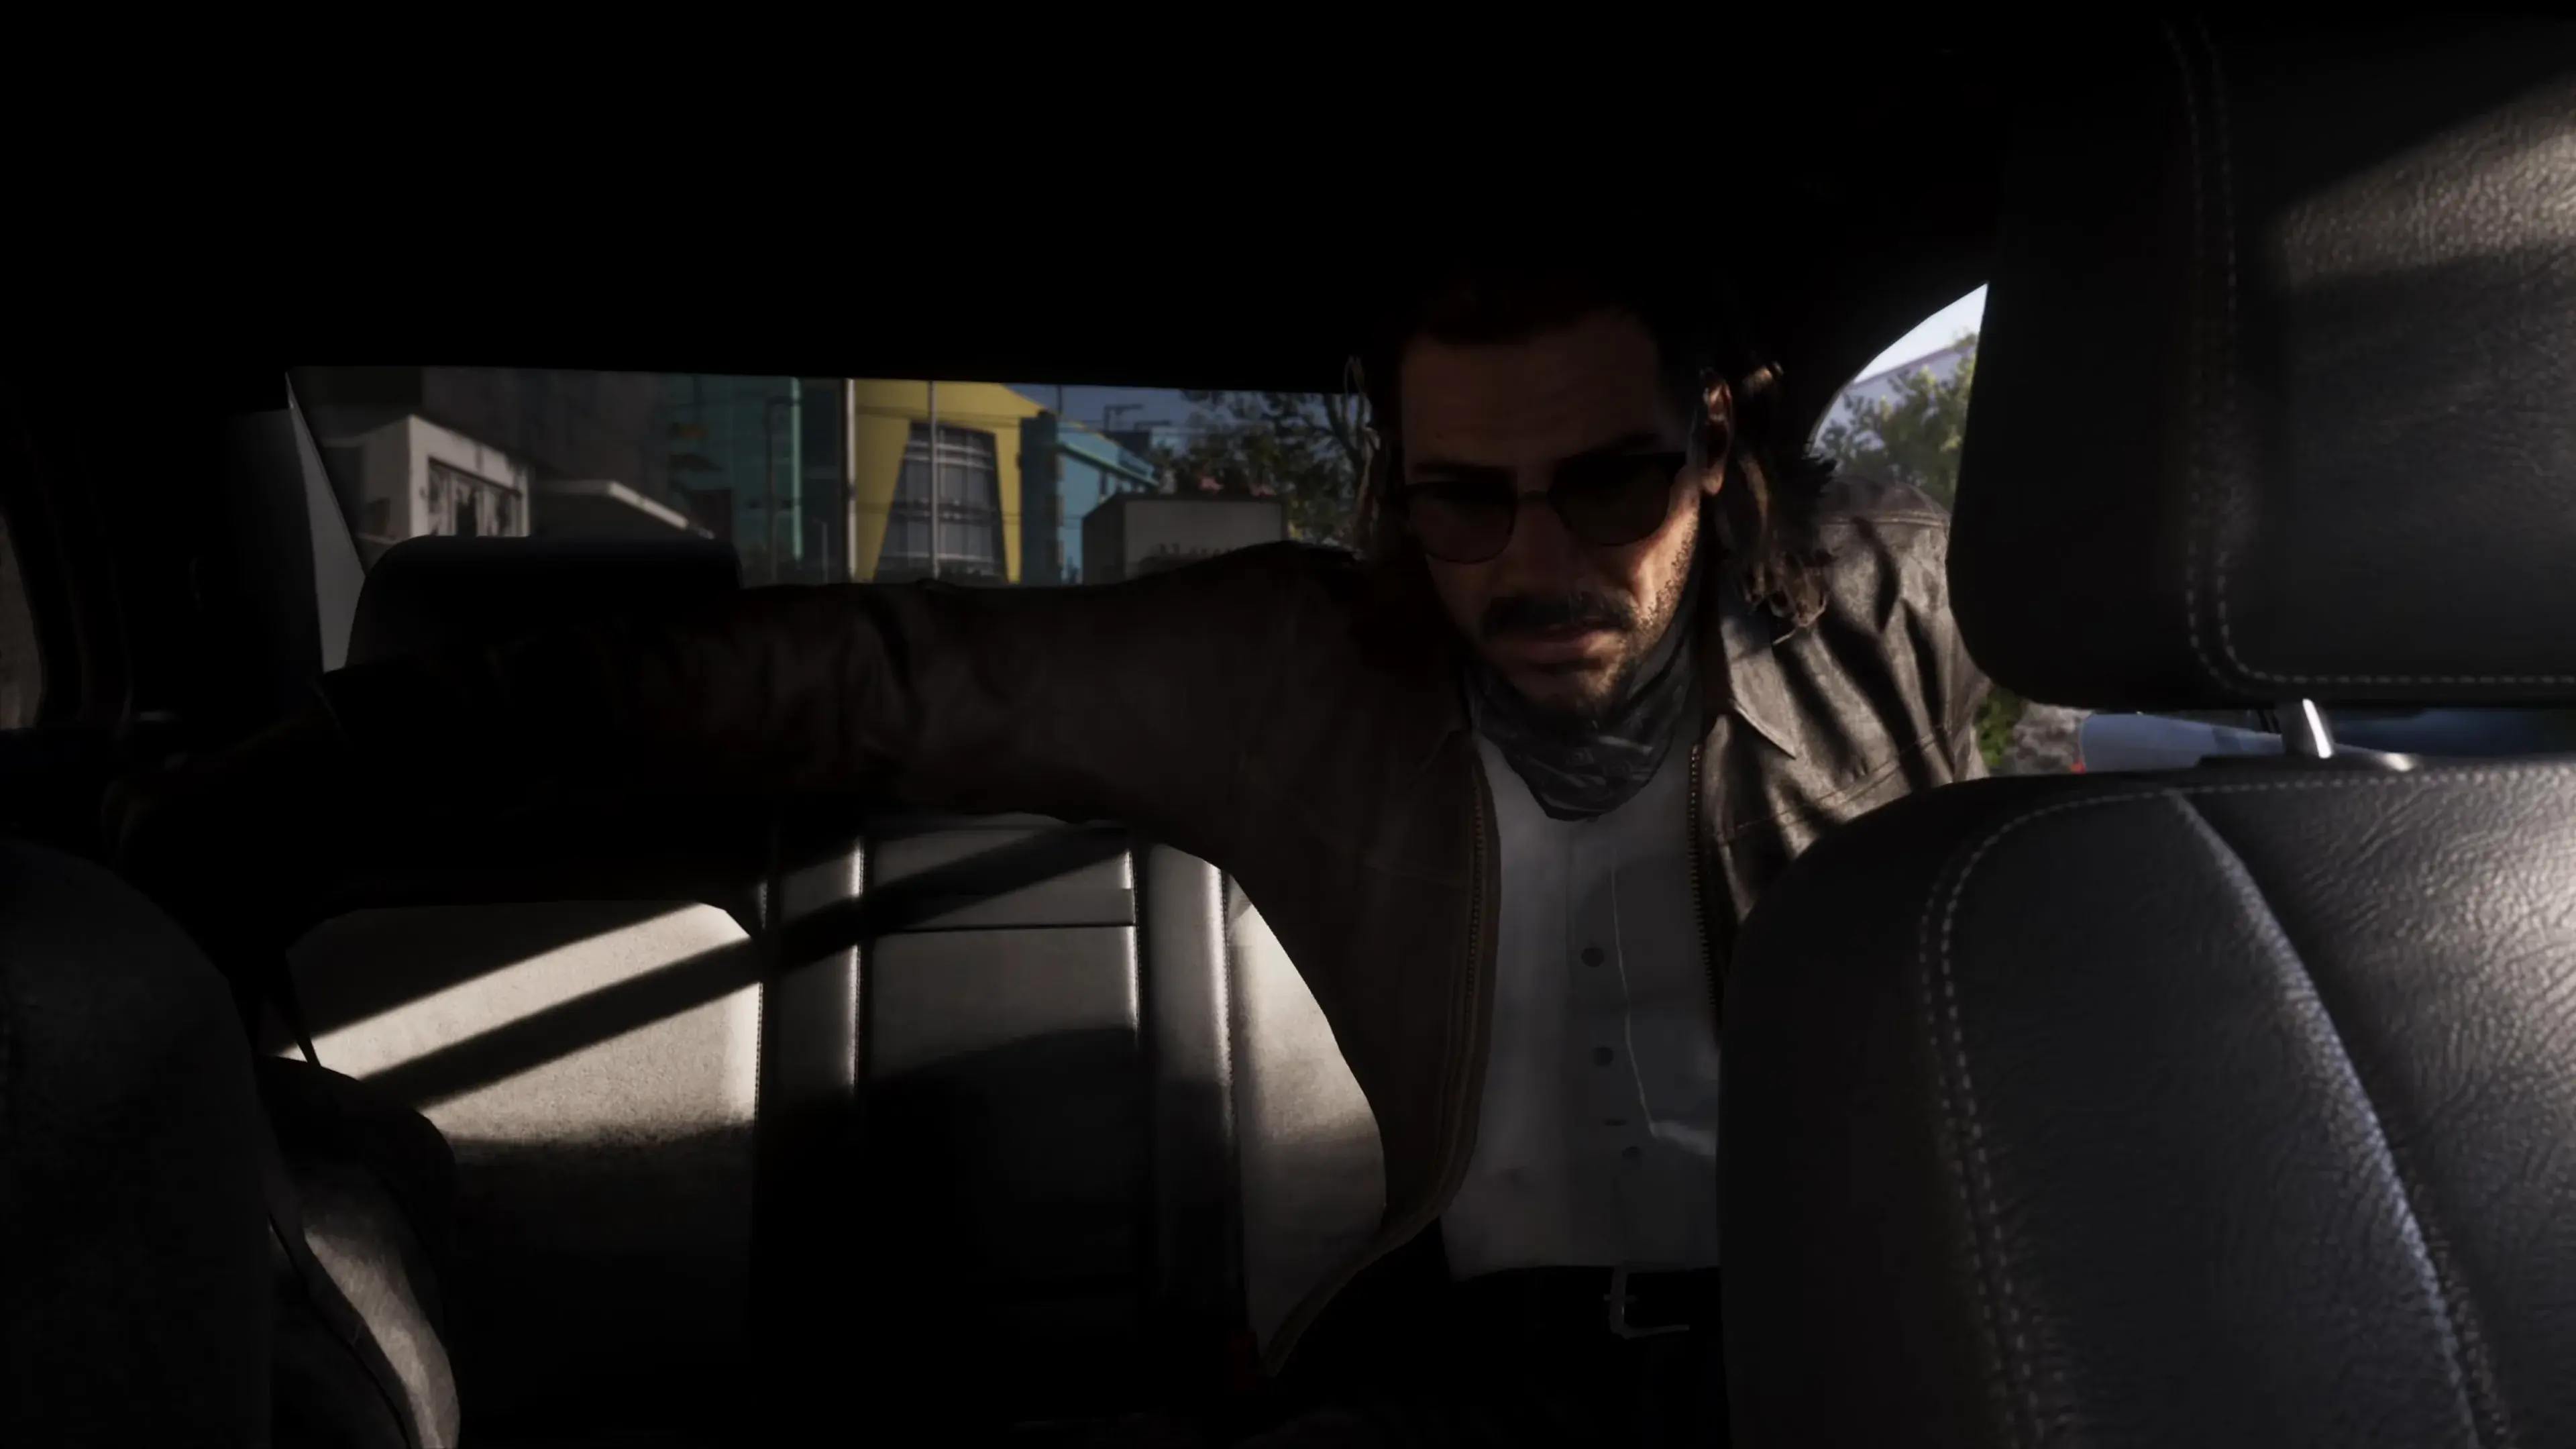 01Raul Bautista leans forward from the back seat of a getaway car: a crew bank job from the story.Source: Rockstar's Extended LookGTA 6 heists
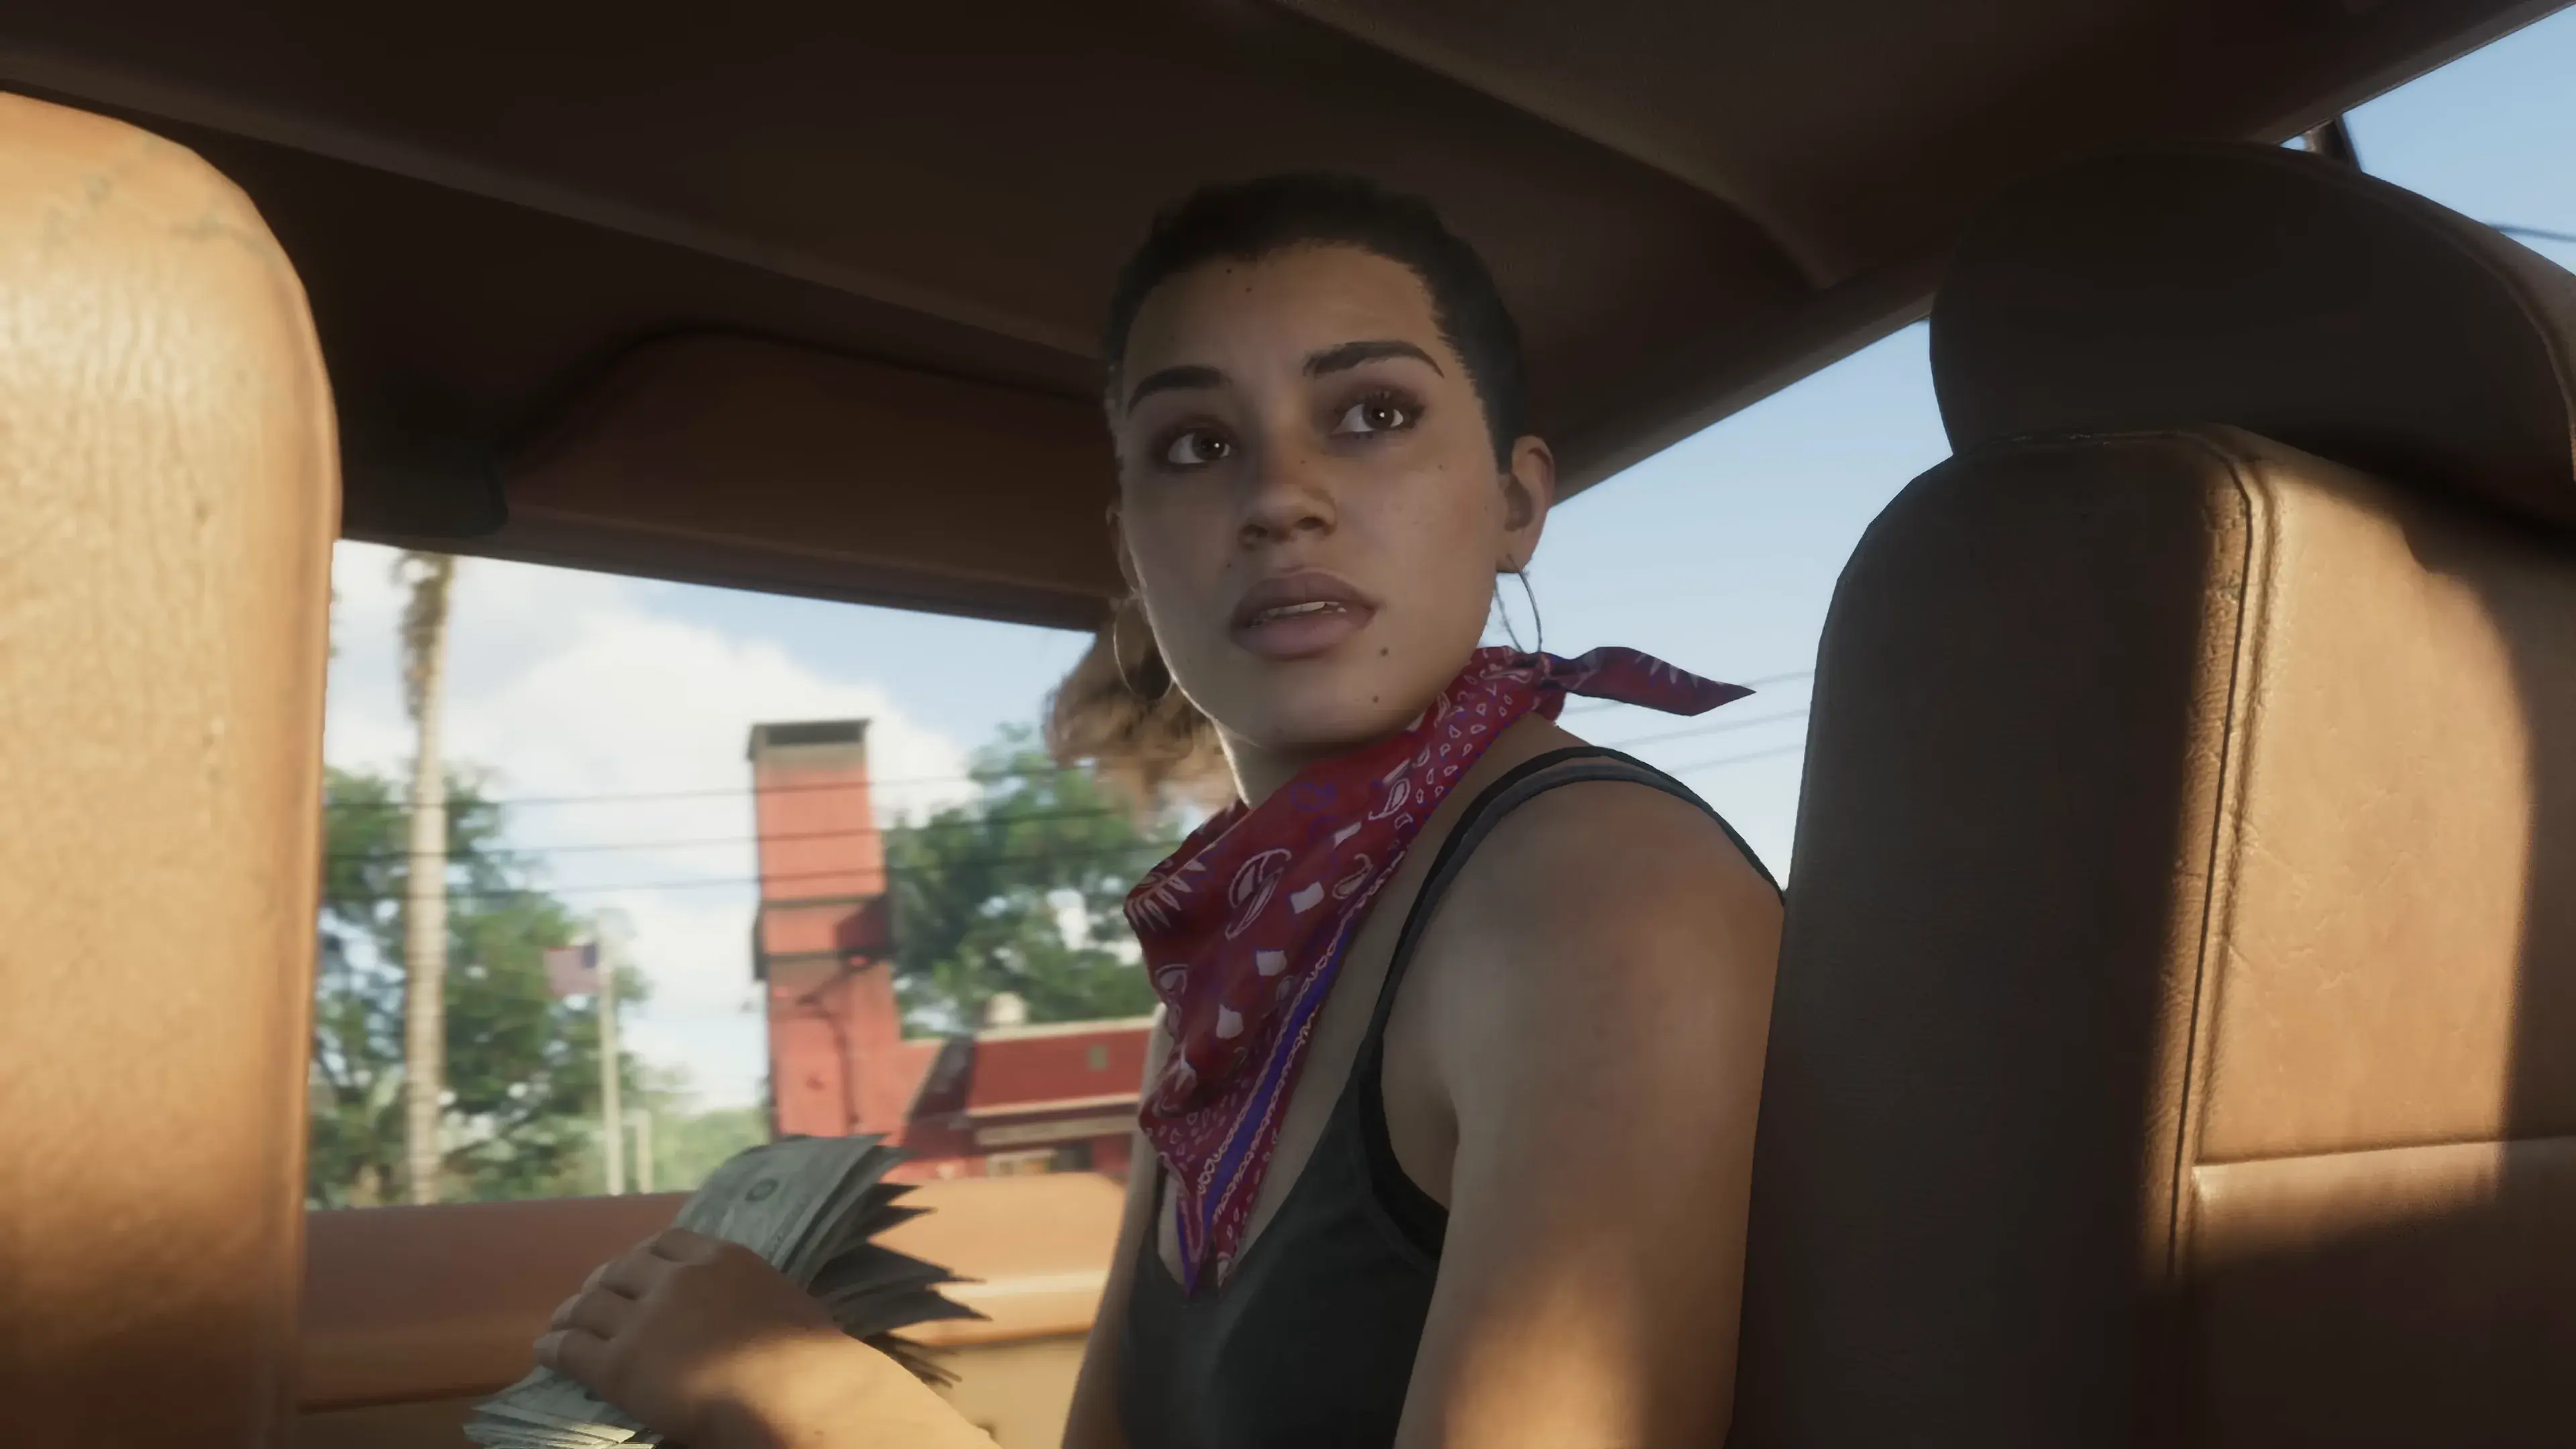
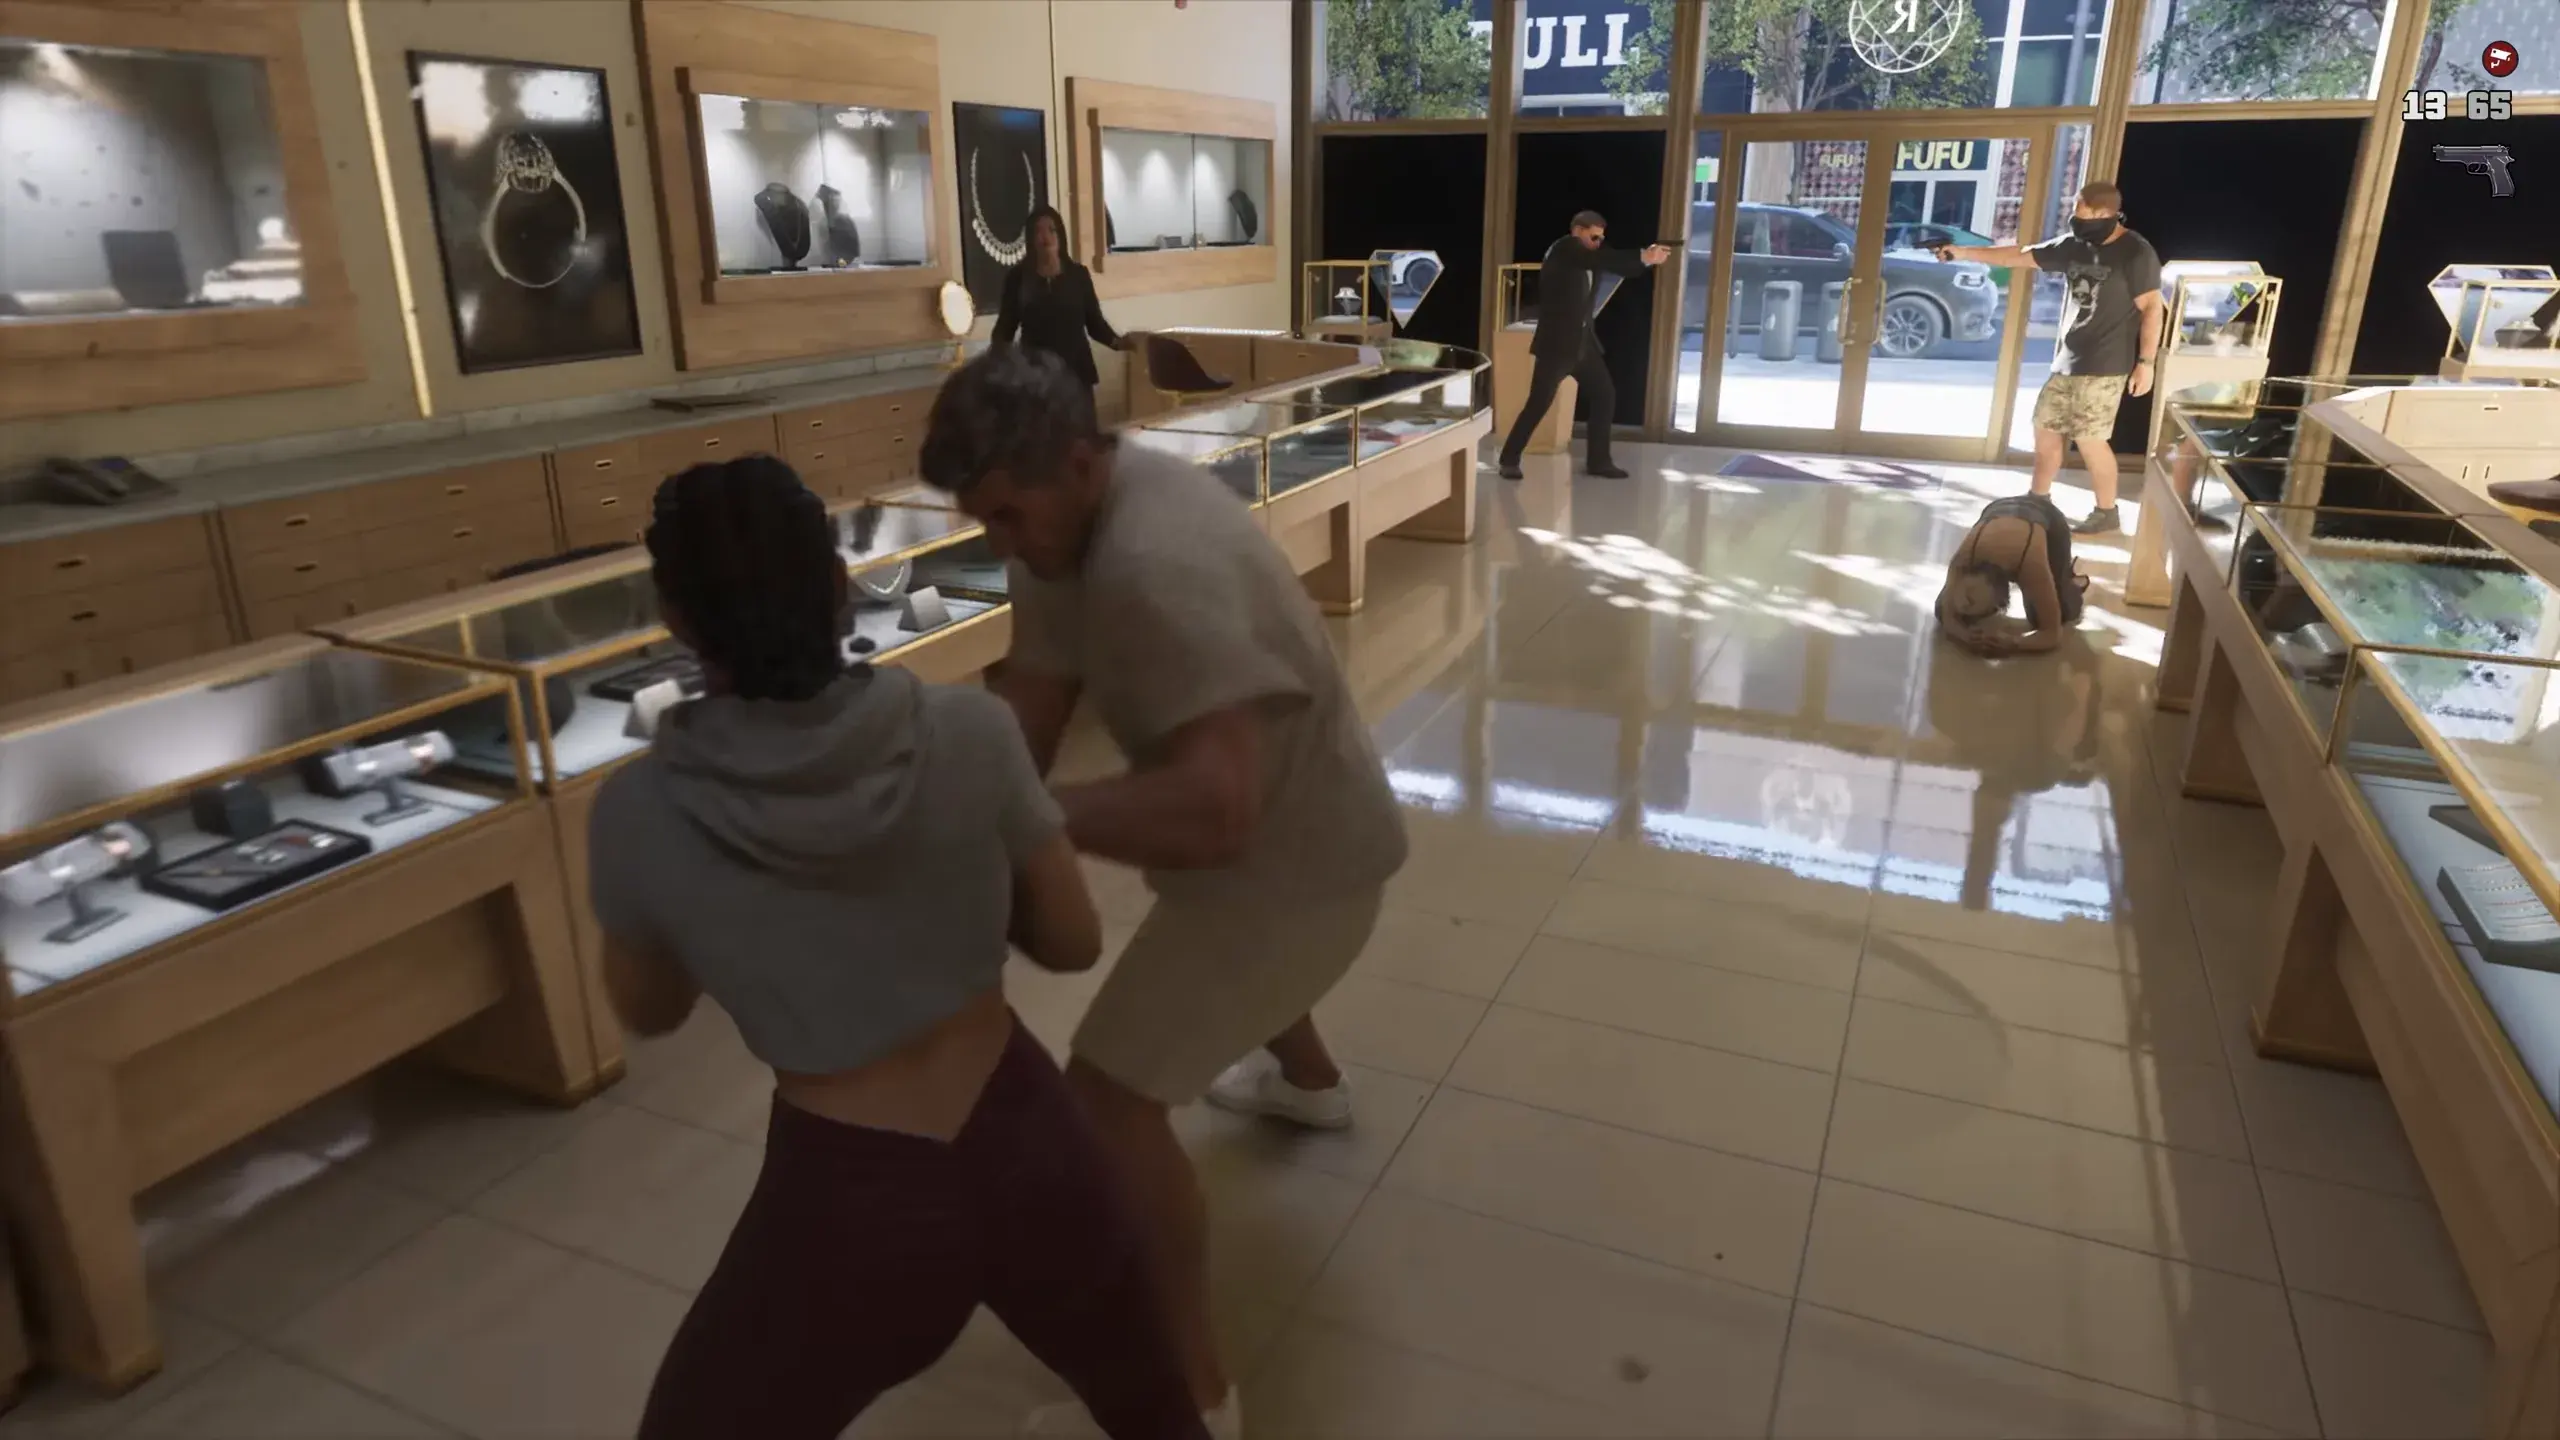 02Lucia grabs a man between jewelry cases while masked robbers guard the door.Source: Rockstar's Extended LookGTA 6 jewelry store robbery
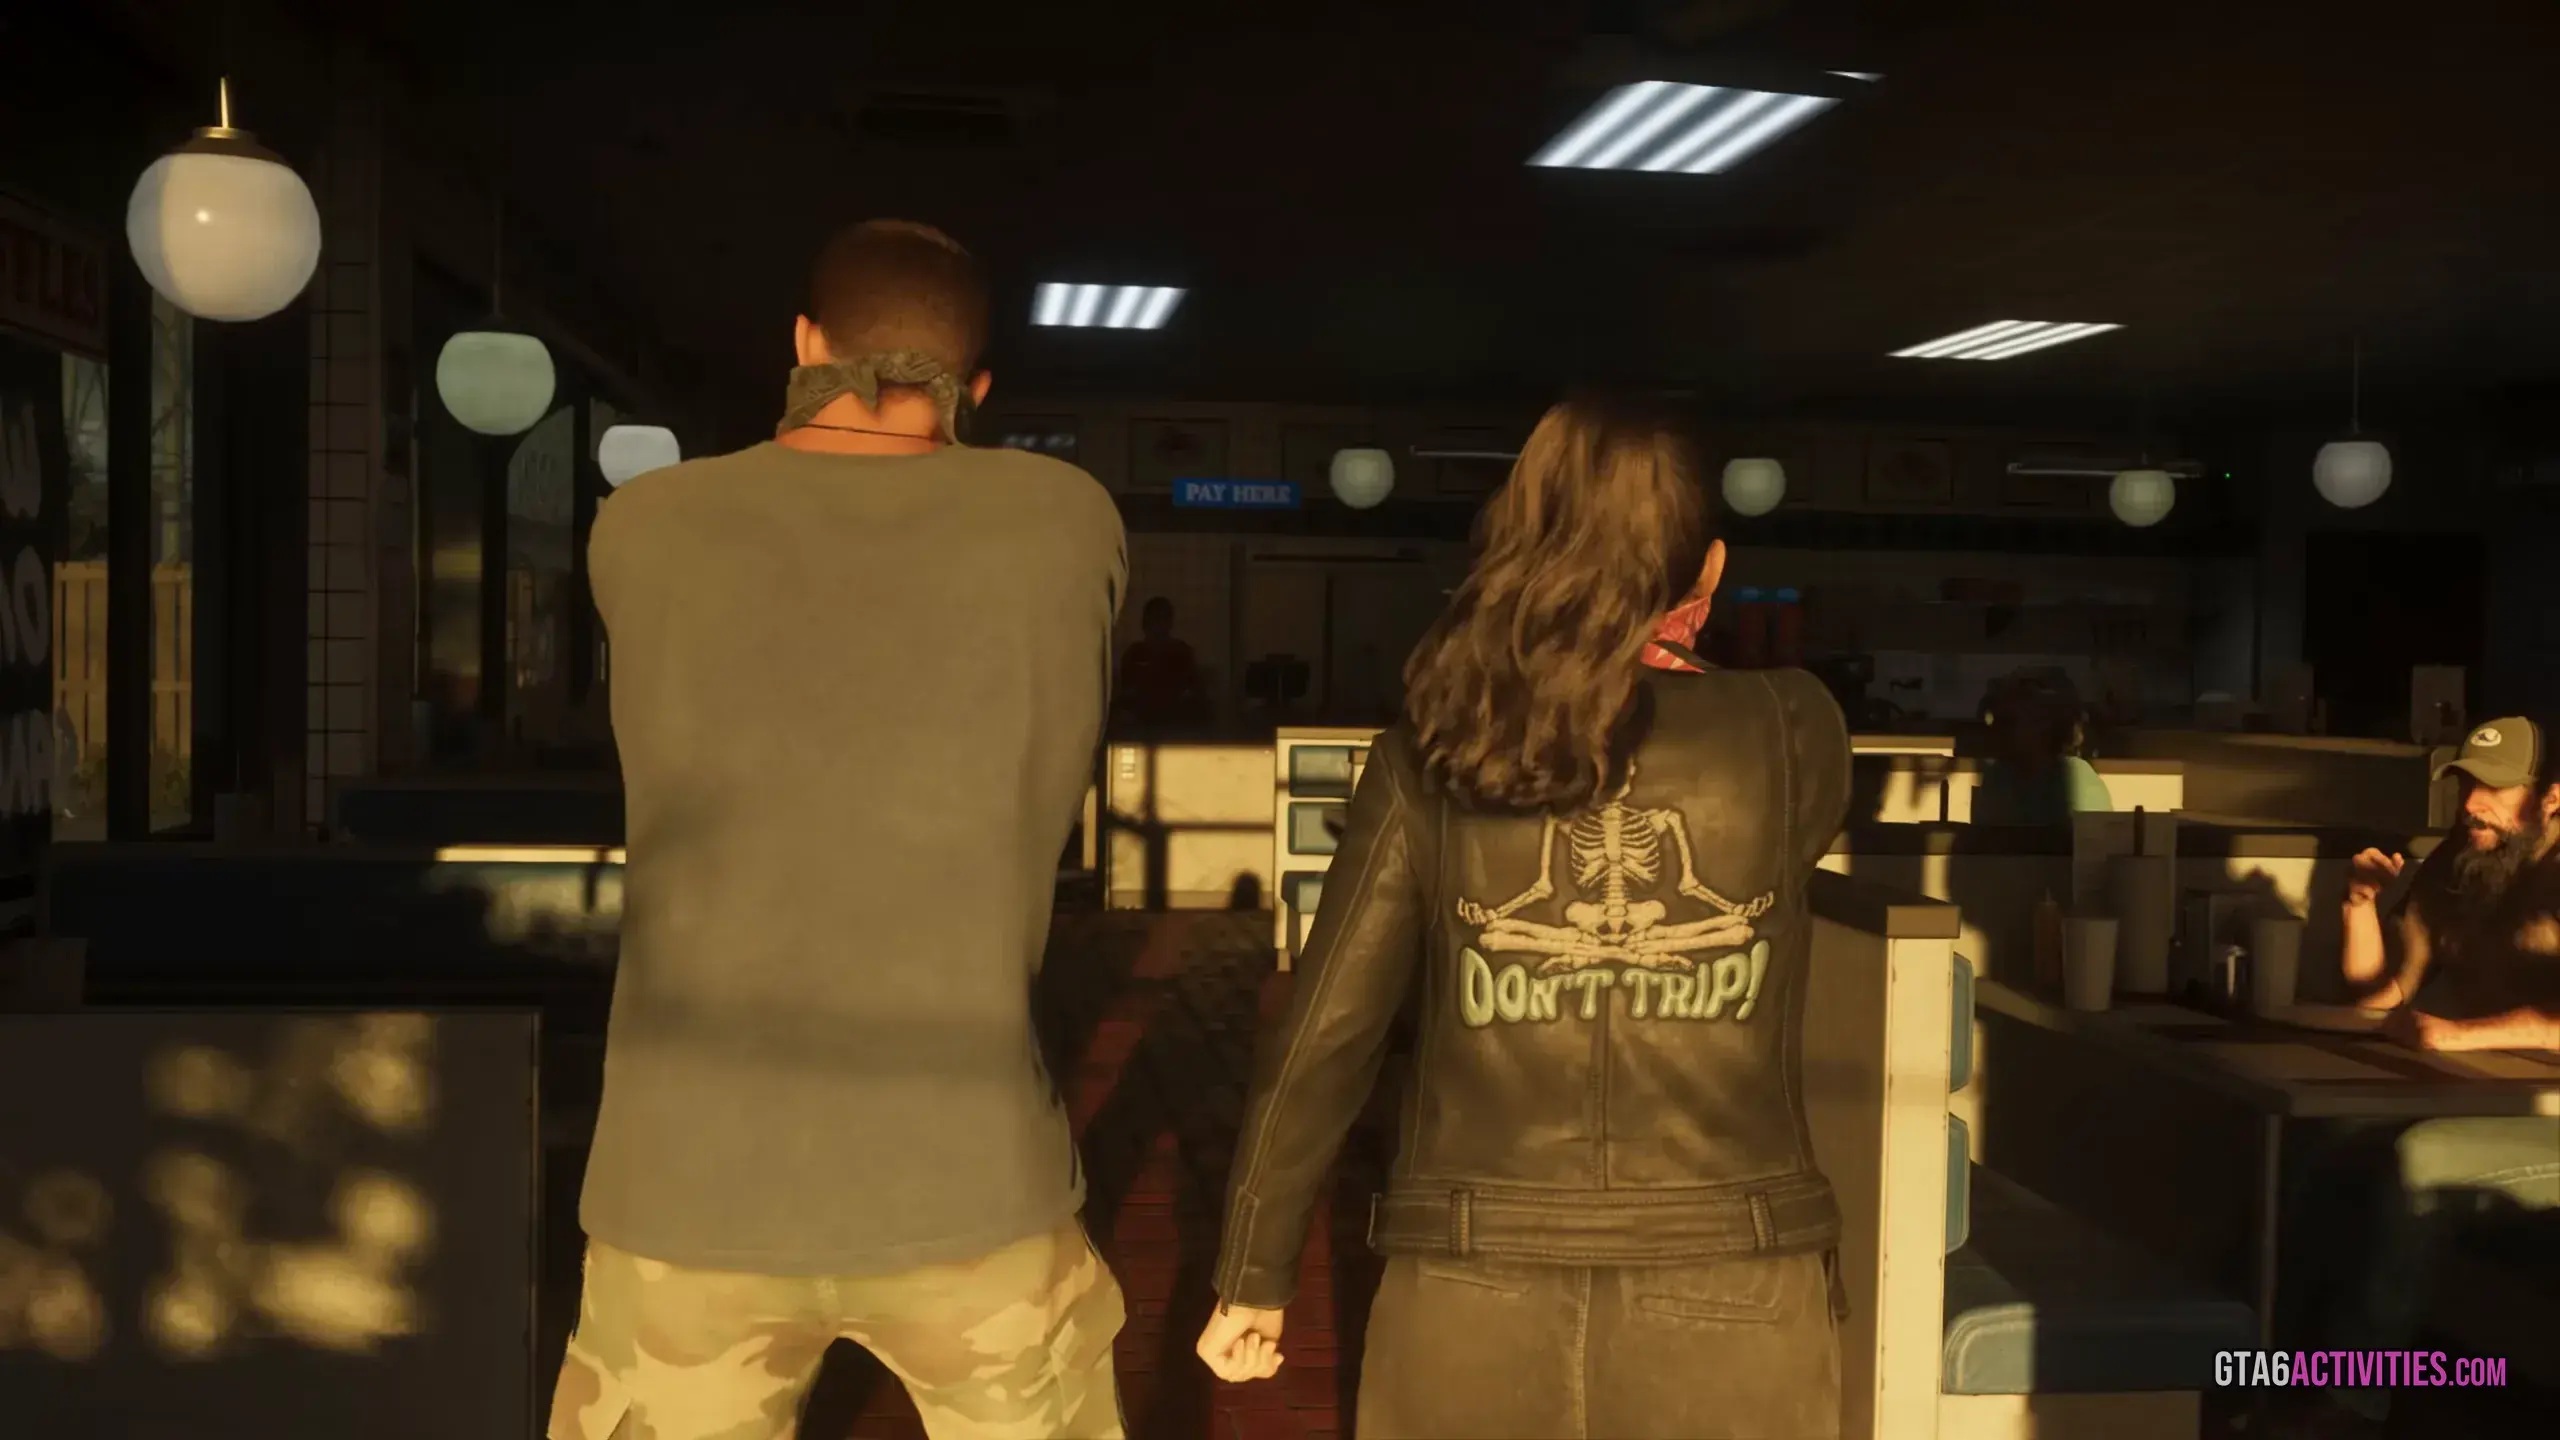 03Jason and Lucia, both masked, hold up the customers of a dimly lit diner.Source: Rockstar's Extended LookGTA 6 store robbery
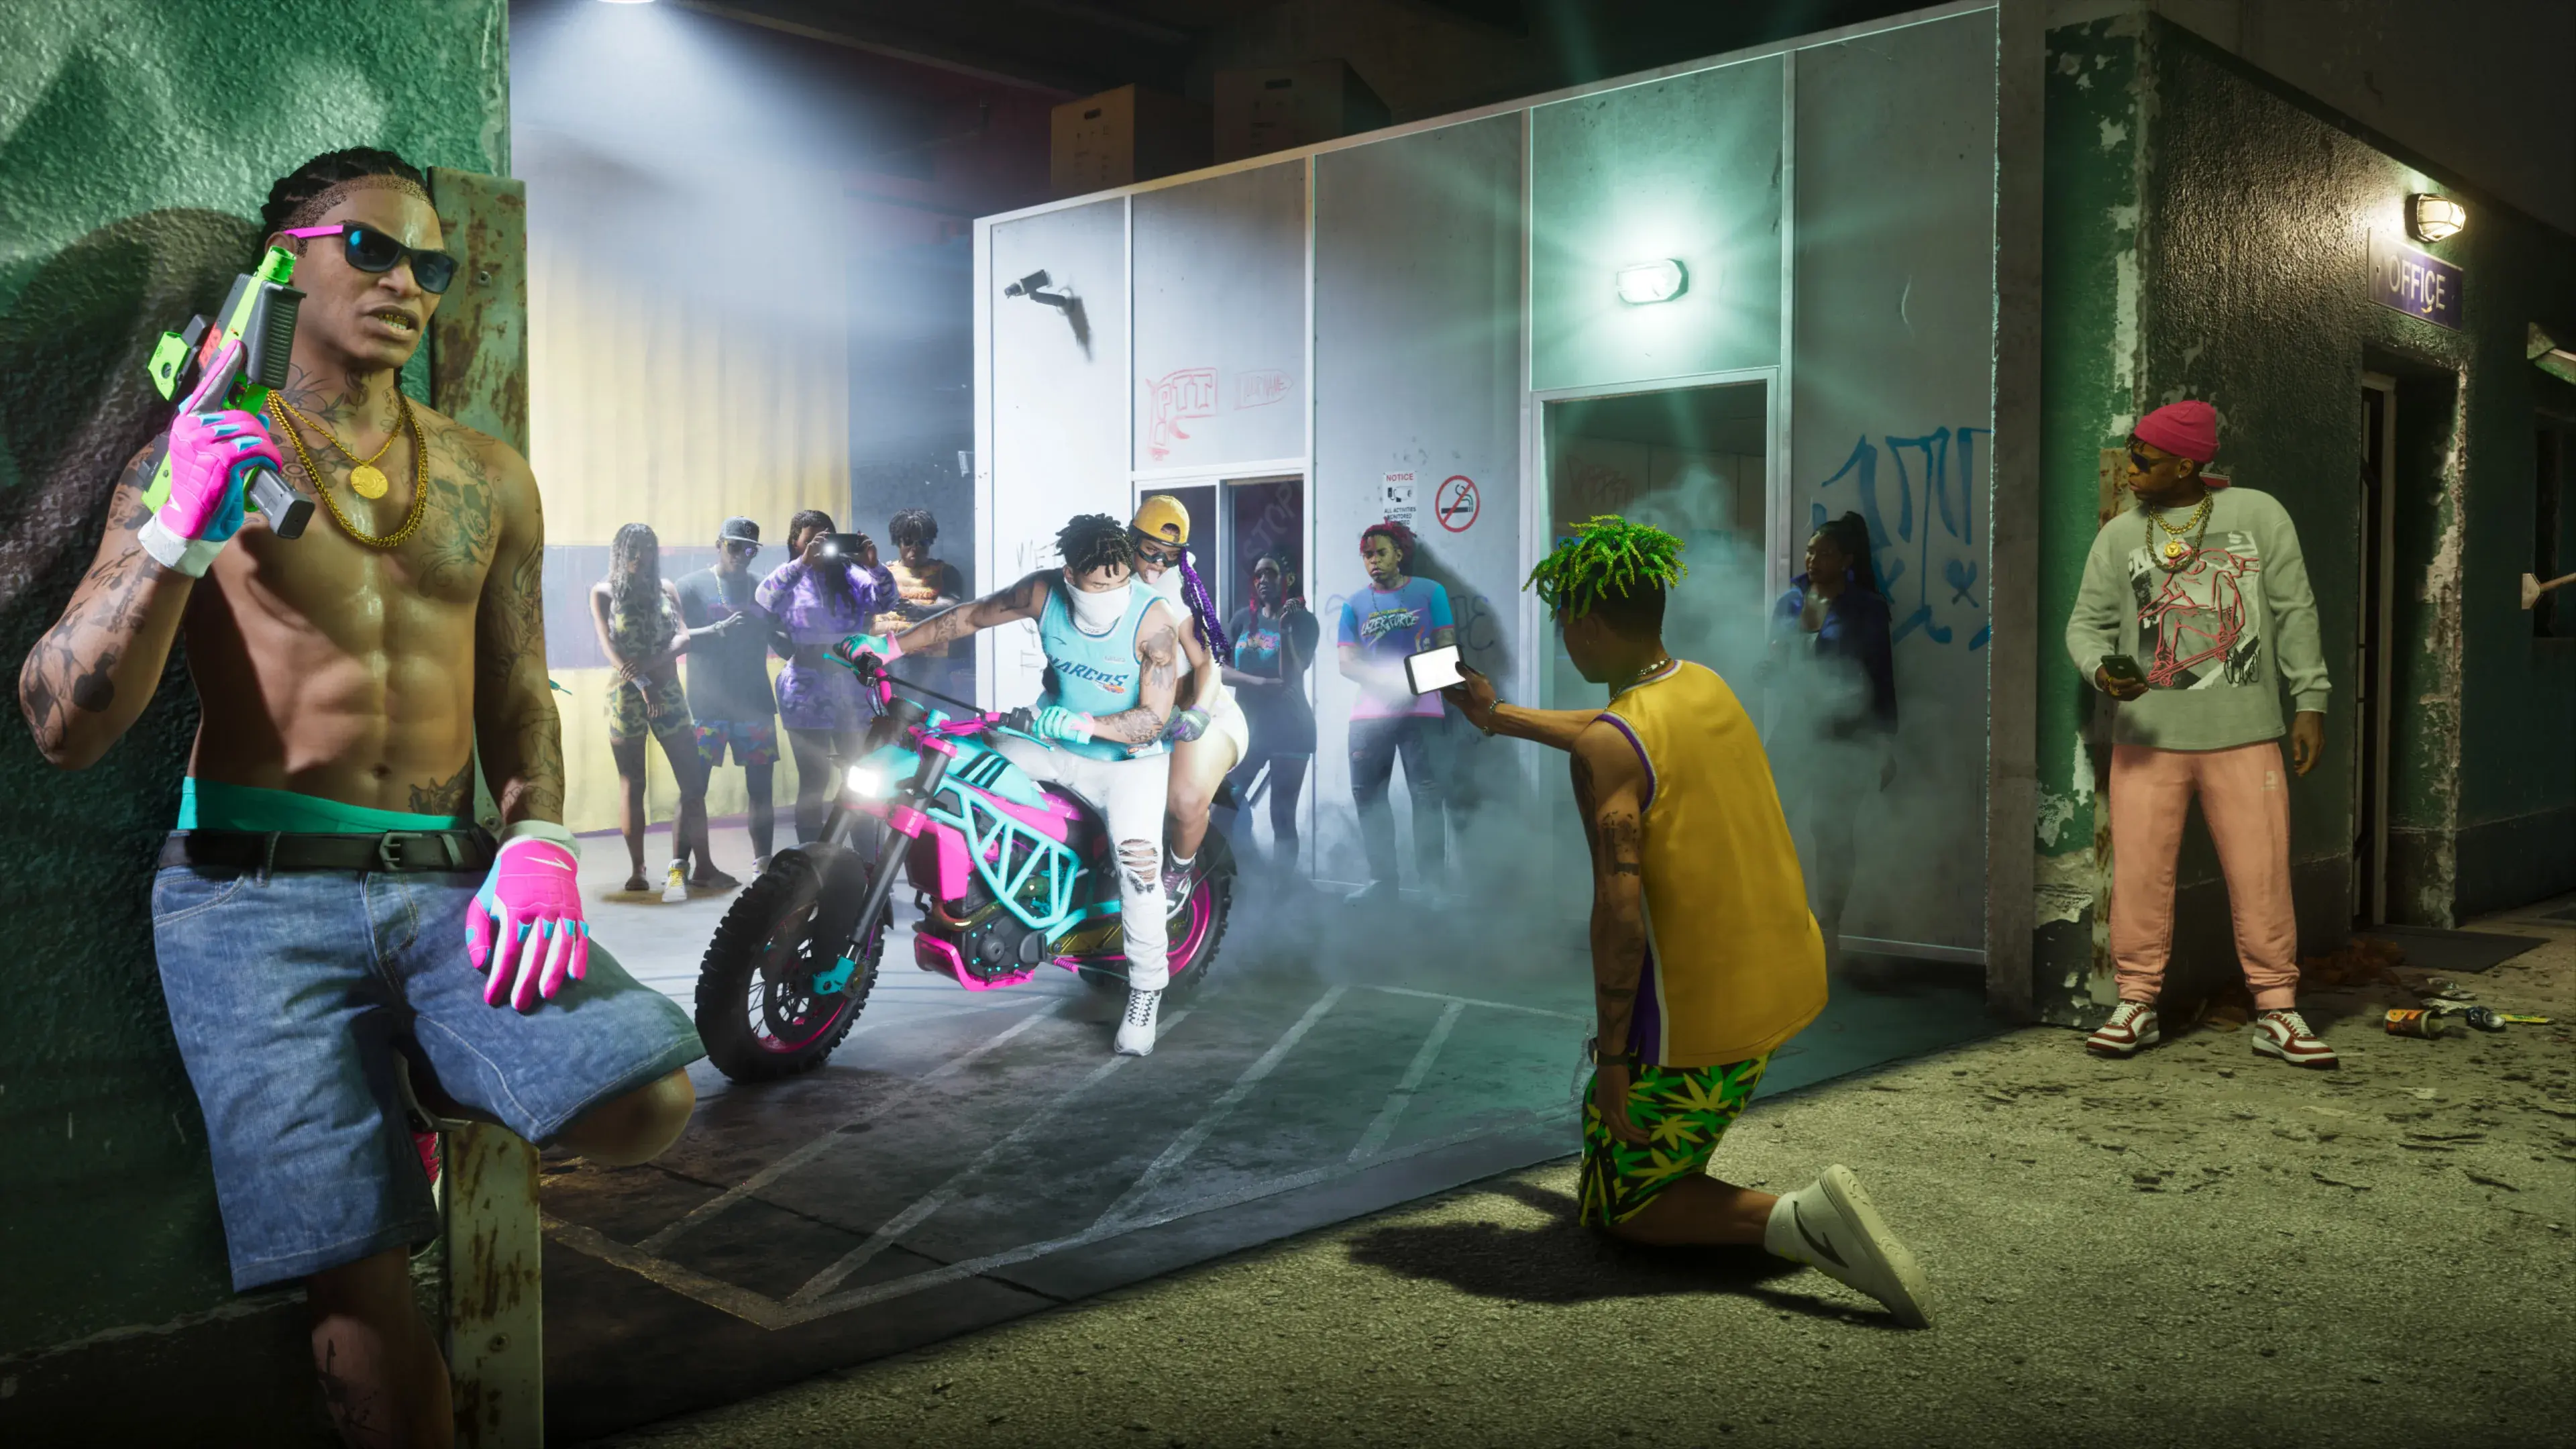 04PTT Youngin$ members gather outside the Illegal Goods Store, one filming two others on a motorcycle.Source: Rockstar GamesGTA 6 compound raids
How do GTA 6 missions unlock?
Missions alone do not carry the story. Four things decide when the next one opens, all from Rockstar's Rob Nelson in press previews.
- 01
Does the story wait for cash?
At some points the story slows or stops until you reach a cash goal.
Rob Nelson, in a press preview
Money system explained - 02
What happens between missions?
Missions alone do not pay enough to finish the story, so free-roam robberies are part of the main path.
Rob Nelson, in a press preview
Plan a robbery - 03
Why does the story pause?
The story sometimes needs a pause, for events to settle or for new contacts to open up. That is when a cash goal holds it back.
Rob Nelson, in a press preview
The first 11 missions, as we played them - 04
How do favors and tips lead to jobs?
Tips come three ways: people who ask a favor, contacts from the story, and things you run into in the world. You then pick the job by the profit it shows.
Rob Nelson, in a press preview
GTA 6 store robbery
What we still don't know about GTA 6 missions
- The official number of story missions: community lists name 145, Rockstar has given none
- Official names for the jobs shown in trailers and footage
- How Jason and Lucia share missions
- How long the campaign runs
- Whether the bank and compound jobs count as story missions
- How the Ultimate Edition compound raid fits in
- What each mission pays after Coming Home
Frequently asked
01What is the first mission in GTA 6?
The Prologue. You play Lucia in Hamlet Correctional, from a counselor interview to a robbery flashback and an arrest outside a coffee shop. Chapter 1 then switches to Jason.
02Do you have to play GTA 6 missions in order?
Only at the very start. After the Prologue and the boat job, several Chapter 1 jobs for Brian and Cal sit on the map at once, and we took them in a different order from the one community lists give.
03How many story missions are in GTA 6?
Not confirmed. One community list counts 120 numbered missions plus four missable ones, and a second adds side jobs, which makes 145 names here. We have played the first 11.
04Which GTA 6 missions can you miss?
Four optional ones are reported as missable: two in Chapter 1, one in Chapter 3 and one in Chapter 4. Their names are in the collapsed list below. We have not tested any of them.
05Do you play Jason or Lucia in each mission?
The Prologue is Lucia. Chapter 1 starts with Jason, and from there the lists mark each mission as Jason, Lucia or both. Use the character filter to see one lead's missions.
Every mission reported so far
Community lists name more missions than we have played. They are here for search and for the record, with every row marked Reported until we play it.
The numbers follow a community list. Missions 3 to 7 of Chapter 1 are not queued: after the boat job several of them sit on the map together, and we took them in a different order. Take whichever marker is nearest.
The map often shows a job by its task, such as Collect Brian's Rent, and only shows the real title, Lab Fees, once it starts. Six of the Chapter 1 titles here, such as Gear Up, are reported names: we saw only the task on screen, and the row says so.
Optional and missable jobs are marked in the row. A second community list adds the optional side jobs the first one skips, with their questlines, so those rows have no number.
Show all missions, with search and filters
145 missions
Prologue to Day Release
Prologue1
- 01PrologueAs Lucia, sit through a counselor interview at Hamlet Correctional, play a Payday Loan robbery flashback and get arrested.PlayedWalkthrough ↑
Chapter 120 here, the rest folded below
- 02Gone FishingFollow a plane by boat with Cal, rescue Donnie from a camp and fly the seaplane back to Brian's marina.PlayedWalkthrough ↑
- 03Gear UpBuy a longarm at Chuck's Tackle & Shot for Brian, then survive a gang ambush in the parking lot.PlayedWalkthrough ↑
- 04Unwanted AttentionSteal a red Imponte Phoenix from the Hamlet impound for Brian, with Cal's help.PlayedWalkthrough ↑
- 06Lab FeesLean on a tenant for Brian, empty his back-room lab and stash the acid in Brian's lockup.PlayedWalkthrough ↑
- 07Just a ScratchTake Jason's Ganado to Joey at Coastal Auto Care for a free repair and respray.PlayedWalkthrough ↑
Get Shirley's RumFetch a bottle of rum from Three Sheets Liquor for Shirley.Reported
Starts at Near Shirley's home in Key Lento
Steps reported
- Talk to Shirley
- Pick up a bottle of Salty Squid rum at Three Sheets Liquor
- Take the rum back to Shirley
Missable: a community list says it disappears when Tourist Trap starts.
Steal the ScooterShirley has a plan involving her neighbor's mobility scooter.Reported
Steps reported
- Shirley has a plan involving her neighbor's mobility scooter
Follows Get Shirley's Rum. Missable.
- 08Hey Arnold!Meet Brian at the hotel, drive out to the radar station and chase Arnold down.PlayedWalkthrough ↑
- 09Island DreamsTake Kenton's group diving to a wreck, dig for Gold Doubloons and rescue Dobbs.PlayedWalkthrough ↑
- 10Feng ShuiMove the furniture with Cal before Lucia comes home, then try the JoySystem.PlayedWalkthrough ↑
- 11Coming HomeRun five errands, pick Lucia up from prison and spend the night at the Rusty Anchor.PlayedWalkthrough ↑
12Clean Up After DonnieRecover Donnie's lost package and deliver it to his trailer.Reported
Starts at The swamp southwest of Hamlet
Steps reported
- Find Donnie's lost package
- Take the cocaine back from a gang in a shack
- Deliver it to Donnie's trailer in Key Lento
Reward reported $600 to the mailbox
13Buck MeOpen a BuckMe bank account for Jason.Reported
Starts at A Fleeca branch in Key Lento
Steps reported
- Open a bank account
- Use the BuckMe app
- Transfer money to Family Savings
Unlocks reported
- The BuckMe bank account
Reward reported $100 welcome bonus
14Down to EarthWash Brian's boat, then fly to Bobcat Bay to deal with smugglers and make drops.Reported
Starts at Brian's marina
Steps reported
- Wash the boat
- Fly to Bobcat Bay
- Deal with the smugglers
- Make the drops
Unlocks reported
- The first of 18 meditation spots
15Deposit Cash Into BuckMeReported
Reads like a banking app goal that one list counts as a mission.
16Save for the FutureReported
Reads like a banking app goal that one list counts as a mission.
- Find the Lost DrugsReported
17Day ReleaseSpend a day out with Mattia: a yacht, a jet-ski race, bottle shooting, a motel and a party.Reported
Starts at The Rusty Anchor
Steps reported
- A yacht
- A jet-ski race
- Bottle shooting
- The Huxley Motel
- A party at the Nine1Nine
- Clock OutReported
Spoilers: the end of Chapter 1 and Chapters 2 to 5
The titles below give away story beats. Each chapter is folded: open one when you want it.
Chapter 1, final stretch
9 missions
- 18Clear SkiesReported
- 19Building a LifeReported
- 20SwampedReported
- 21Don GoneReported
- 22Donnie's Lost DrugsReported
- 23RecalibrationReported
- 24Tourist TrapReported
- 25Home Sweet HomeReported
- 26Discharge TimeReported
Chapter 2
27 missions
- 27What's in the Bag?Reported
- 28Ambulance ChaserReported
- Check Out McKittrick FarmReported
- 29Take Care of JasonReported
- 30Overnight ChargesReported
- 31Just Moved InReported
- 32Girls' TripReported
- Pick Up A GunReported
- 33MosesReported
- 34New LookReported
- 35How Do I Look?Reported
- 36Painkiller SupplierReported
- 37Daily DriverReported
- 38Behind on PaymentsReported
- 39Slam DunkReported
- Collect Chemicals for KyleReported
- 40Breakfast RunReported
- 41Coffee BreakReported
- ThrillbilliesReported
- Twist Wrist, Smash, GrabReported
Hit Avery PawnReported
Starts at Avery Pawn, in the Crossroad Park mall in Port Gellhorn, picked from Lucia's paper map
Reported, not seen by us
- Run as a pair, the cabinets gave $1,350 of jewelry and $8 in cash; a solo run took about $890 in cash and $120 of jewelry. The back-office safe takes an explosive or a code and held imitation jewelry (gta6heists.com).
Hit Kingpin BowlingReported
Starts at Kingpin Bowling in Port Gellhorn
Reported, not seen by us
- Robbing the compound paid $440 and $100, taking cash from $2,529 to $3,069, with a prompt to split up and no star (gta6heists.com).
- Impounded VehicleReported
- 42Prepare for Vice CityReported
- Veteran HuntedReported
- 43Afternoon DelightReported
- 44Checking OutReported
Chapter 3
39 missions
- 45Welcome to Vice CityReported
- 46Dealer's ChoiceReported
- 47Meet the HedersReported
Yasmani's Jewelry JobsRob three jewelry stores for Yasmani, each for one piece kept in a safe whose code the map card gives.Reported
Starts at Three targets on the Vice City map, each with an Invite Lucia option
Steps reported
- Hit Richardson Jewelry & Diamonds, Downtown: the diamond ring and $419 in the safe, safe code 6815, plus $13 from the till and $2,110 in jewelry from 11 cases
- Sell to Yasmani: $9,000 for the ring and $2,110 for the jewelry, both paid into the bank. He gives Jason a lock-picking tool
- Hit Casa de Empeño: a buffalo skull chain in the safe, safe code 1680
- Hit Donovan Banks & Co.: the amethyst necklace and $331 in the safe, safe code 0104, behind a locked door the lock-picking tool opens; $1,173 in cash and $1,860 in jewelry in all
Reported, not seen by us
- In a later part of the same stream, the Casa de Empeño safe was blown with an explosive for the Buffalo Skull Chain and $319, after $400 from the register, and a second Donovan Banks run found $367 and the Amethyst Necklace in the safe, with $1,740 of jewelry in the bag.
- gta6heists.com reports that Yasmani paid $4,700 for the amethyst necklace and, citing PowerPyx, that the three pieces come to $20,000 in all, with a snap gun handed over after the first one.
- Yasmani also works as a fence from the back office of a vape and smoke shop in Little Cuba: his card rates narcotics MEDIUM, jewelry and marked bills HIGH, and pays an extra cut when he sends someone to collect from your garage (gta6heists.com).
Seen in third-party footage of an early copy, not played by us. Each map card names the piece Yasmani is after and prints the safe code, which also shows in the Notes widget at the safe. The Richardson job came to $11,542 with the cash taken in the store; the footage we watched shows no sale of the necklace.
- Bumper to BumperReported
- 48Dubious ProvenanceReported
- 49Mami Knows BestReported
- Get Your WheelsReported
- Join a Street RaceReported
- 50South Leonida Real EstateReported
51TyroneReported
Reported, not seen by us
- Tyrone fences narcotics, jewelry and marked bills from his apartment (gta6heists.com).
- 52Here, Kitty KittyReported
- 53Send Money to LorenaReported
- 54Encrypted Hard DriveReported
- 55Car ServiceReported
- 56Send More Money to LorenaReported
- 57Top BillingReported
- 58Boobie TimeReported
- Buddy?Reported
- 59First ImpressionsReported
- 60Caught SlippingReported
- 61Crosstown TrafficReported
- 62Credit CheckReported
- 63Steal the Zorrusso for RandyReported
- 64Raul's Next JobReported
- Race Against YagoReported
- 65Sinfrontera National BankReported
- 66Security ExpertReported
- 67Heist PlanningReported
- 68Ride or DieReported
- 69Company PropertyReported
- 70The Missing LinkReported
Join Billy on a JobReported
Reported, not seen by us
- The job is a Gruppe6 armored van: a sticky bomb on the rear doors, a $3,000 bag, and Lucia's cut of $2,000 took her cash from $3,602 to $5,602 (gta6heists.com, from launch-stream footage).
- Brother To BrotherReported
- 71Safe WordReported
- 72CootiesReported
- 73Bricked UpReported
75The Cartel HeistReported
Reported, not seen by us
- A guide written from the finished game, relayed by gta6heists.com, gives a one-time $120,000 and the Break the Bank trophy, at Sinfrontera National Bank in Chapter 3.
Chapter 4
39 missions
- 76Ocean BeachReported
- 77Another LifeReported
- 78Pool DayReported
- 79Company CarsReported
- 80Lawyer UpReported
- 81It's a Date!Reported
- 82Party HardReported
- 83Heavy LiftingReported
- 84Pay Abe's FeeReported
- 85Photo/ShootReported
- Bad Driver!Reported
- Attend Eddie Acosta's PartyReported
- 86Making GainzReported
- 87Blood Sweat and GearReported
- 88Watch ItReported
- 89Call NateReported
- 90Cash InjectionsReported
- 91Amateur HourReported
- 92Dirty WorkReported
- 93Nate Will Be in TouchReported
- 94Too Much BaggageReported
- 95Adventures in BabysittingReported
- 96RafaReported
- 97Fresh EvidenceReported
- 98Power PlayReported
- 99Child's PlayReported
- This Is a Free Call From…Reported
- 100HeadlinersReported
- 101Close SurveillanceReported
- 102Delivery MethodReported
- 103Team BuildingReported
- 104Fully CateredReported
- 105Heist Plans in PlaceReported
- 106VCIA TakedownReported
- 107Tie Up Loose EndsReported
- That's Where The Money Is…Reported
- 108Call Valentina BackReported
- 109SunsetReported
- 110Starting From ZeroReported
Chapter 5
10 missions
- 111Bird in the HandReported
- 112Taking LibertiesReported
- 113VC BabyReported
- 114Doggie BagReported
- 115Operation Savage GloryReported
- 116Honest AbeReported
- 117Unfinished BusinessReported
- 118Pay Abe's FeeReported
- 119Protective CustodyReported
- 120The End of the RoadReported